Changing the Order of Items
To arrange the printout report in a different way, you can move any item by dragging it in the navigator to another location. For example, move the image from the last page to Chapter 8.1 Summary.
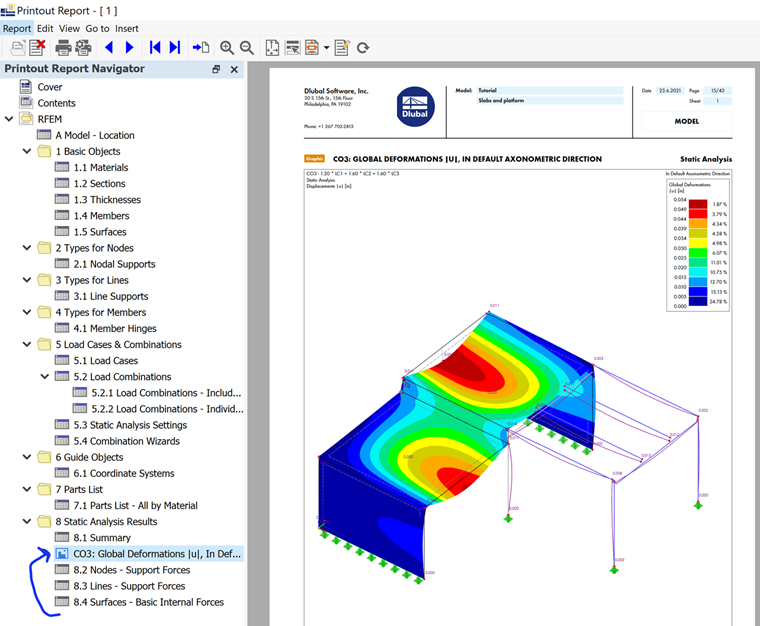
Creating a 3D PDF Image
RFEM provides an option to embed 3D images of the model in a PDF file. Right-click the navigator item of the image – CO3: Global Deformations |u|, In Default Axonometric Direction – to open its shortcut menu.
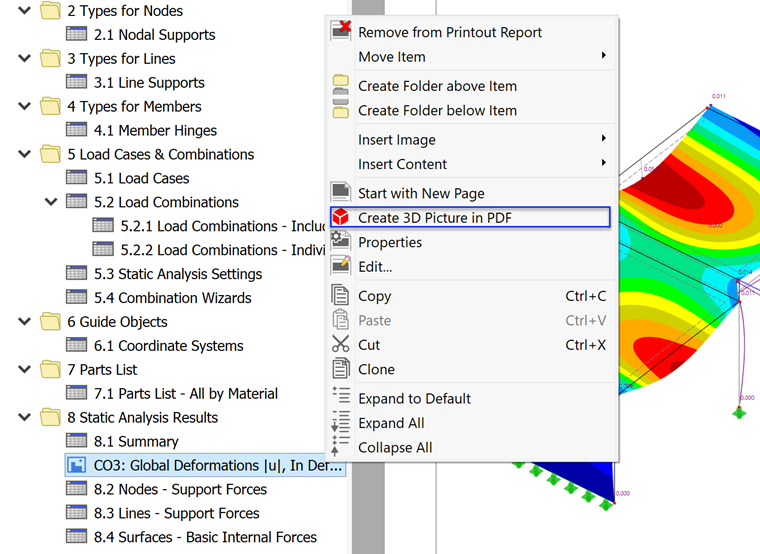
Click the Create 3D Picture in PDF option. The image is converted and then tagged by a cubical symbol in the navigator.
Printing the Printout Report
When the printout report has been compiled, it can be printed by clicking the
![]() button. Alternatively, you can save it as a .pdf file: Click Export to PDF on the Report menu.
button. Alternatively, you can save it as a .pdf file: Click Export to PDF on the Report menu.
The 'Save printout report to PDF file' dialog box is opened. Specify the folder and name of the file. Then click Save to create the .pdf file.
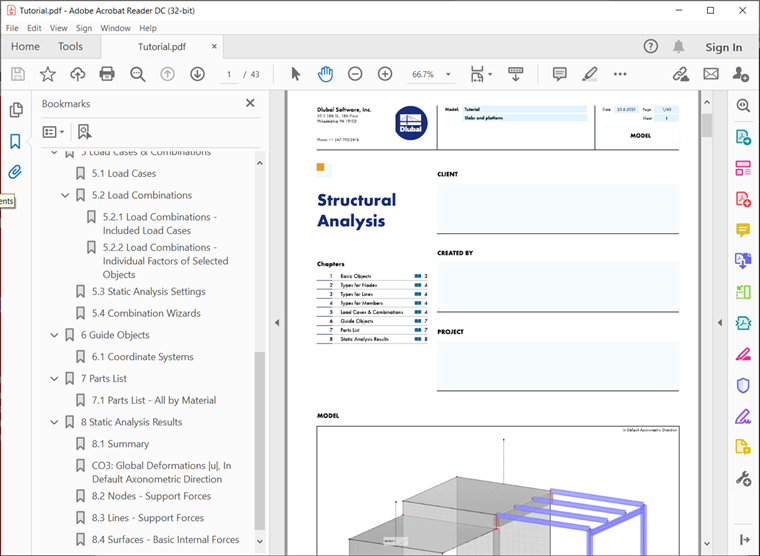
This file also includes bookmarks which help you navigate the document. When you open the page of the 3D PDF, you can try rotating the model or zooming in and out to check the results in user-defined views.