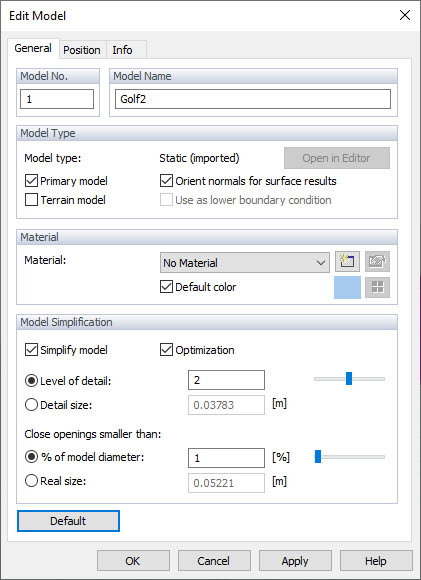
Model Name
For imported models, the description "RFEM/RSTAB Model" is shown in the text box. You can enter any description to characterize the model.
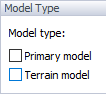
Model Type
In general, the structural model you have imported from RFEM 6 or RSTAB 9 represents the "primary model." It includes all objects of the RFEM/RSTAB application where wind is to be applied, such as surfaces, beams, solids, and openings. Each project must have exactly one primary model.
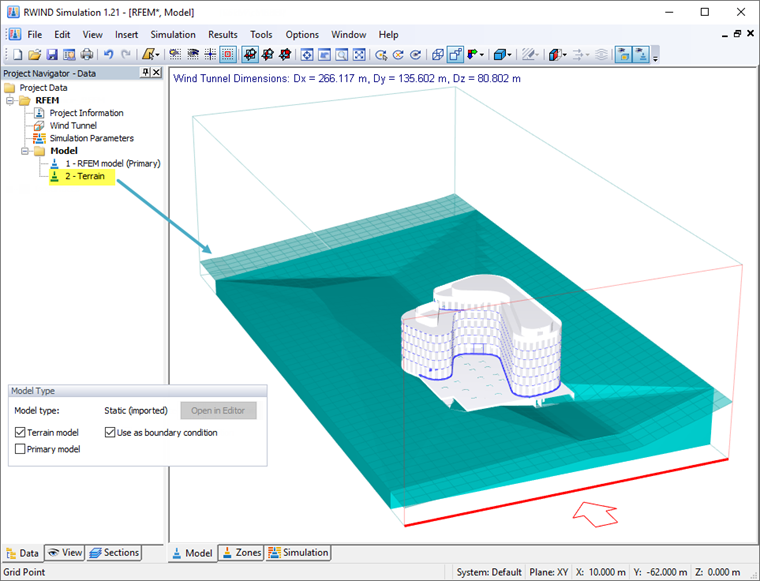
In addition to the primary model, the RWIND 2 project can include other models that affect the flow around the primary model. In practice, those "secondary models" represent surrounding buildings or terrain, for example. Such models can be imported from external files (*.stl) or defined in the RFEM 6 or RSTAB 9 model by means of CAD/BIM models (see Chapter Mesh Settings). If you have imported a secondary model, you can position it by drag-and-drop operations or rotate it by using a dialog box or graphical manipulator (see Chapter Edit Objects).
The "Terrain model" is a special type of secondary model that differs from other models in two ways:
- It can be used as a boundary condition, that is, the bottom boundary of the computational domain.
- Drag forces are not calculated for this model.
If the project contains multiple models, the "Drag Force Sum" displayed in the legend of the work window (see Chapter Sums of Drag Forces) represents the sum of the forces applied to all models except for the terrain. The drag force of each individual model can be found on the Info tab of the "Edit Model" dialog box belonging to that model (see Chapter Info).
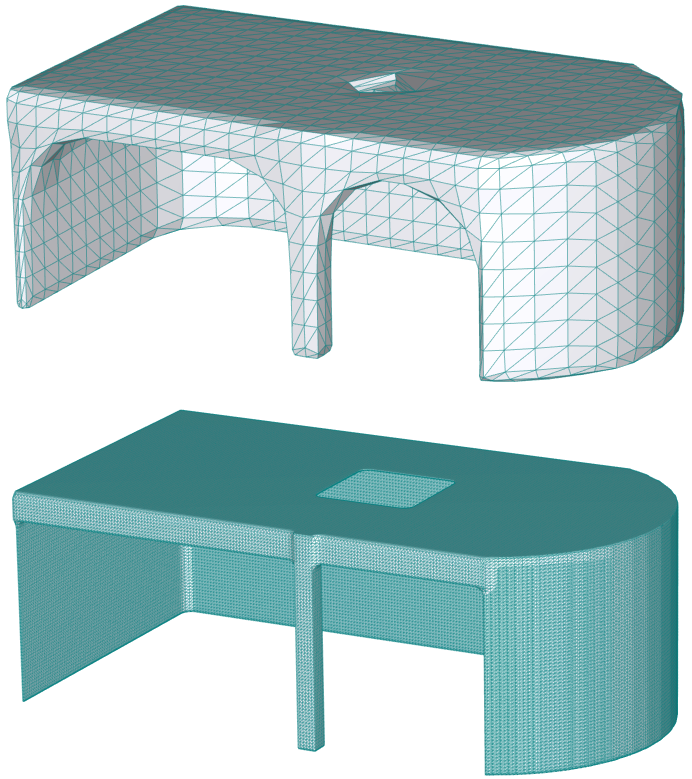
The option to deactivate the automatic mesh orientation for displaying results is used to correctly display the results on the original model. By default, the automatic orientation of the triangles is performed to unify the random orientation of the triangles and avoid display problems and misinterpretation of the results. However, in some cases the orientation of the triangles of the original model may be correct and better than the automatic orientation, for these cases it is possible to disable the automatic orientation.
Material and Surface Roughness
This section deals with the assignment of material to the whole model or specific parts of it. The material has the surface roughness that affects the surrounding flow field. These properties are described in Chapter Materials.
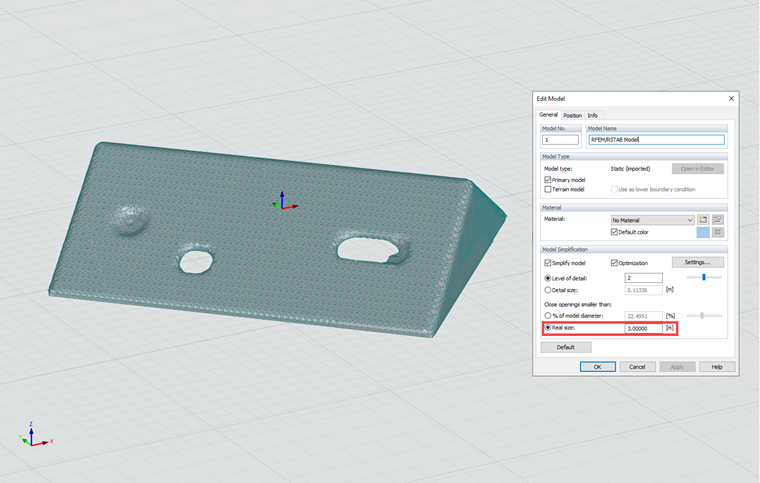
Model Simplification
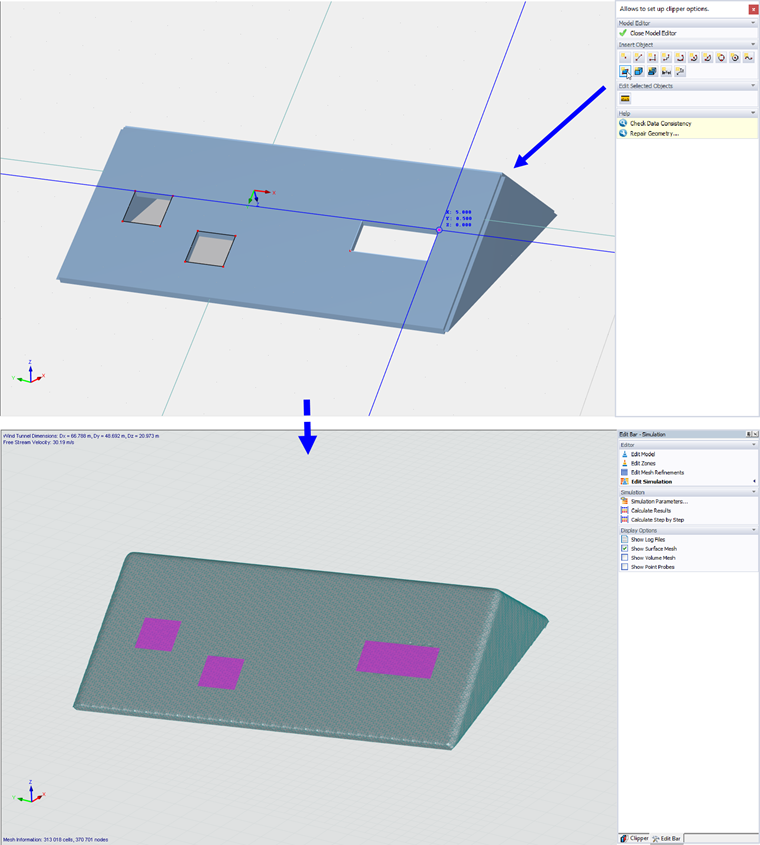
The "Simplify model" option is set as default. This means that small corrections of the RFEM 6 or RSTAB 9 model required, for example, at boundaries or corners are done automatically by RWIND 2 (see Chapter Computational Mesh and Model Simplification).You can control the "Level of detail" of this simplification by specific levels. Use the slider to adjust it from 0 (very coarse modeling of details with a wide mesh) to 4 (many details with a very fine mesh).
Default value 2 represents a good compromise between the simplification of the model and the calculation speed. Click
![]() to view and check the simplified model based on a new level of detail.
to view and check the simplified model based on a new level of detail.
As a reference, the "Detail" size of the meshing is shown in the text box below.
The mesh is automatically refined around the model subjected to the wind flow, which contributes to
higher calculation efficiency.
High levels of detail can produce extremely fine or large meshes. We then recommend applying an "Optimization" to the mesh, in which its shape is preserved.
The "Close openings smaller than" option allows you to control how openings in the model are to be treated. 0% is preset. This means that all openings or gaps are considered for the analysis. The level of closing openings can either be modified as a percentage or set as an absolute value. It is thus possible to neglect small openings and simplify the model. Furthermore, window or door openings which are closed in the real model can be filled easily with this feature.
If a beam model represents the structural model of a framework whose surfaces (cladding or roof covering) are not explicitly included in the model, those surfaces are not contained in the imported model of RWIND either. As a matter of consequence, the wind load will be applied only to the members, not to the surfaces lying in between. The "Close openings" function is not suitable in this case to replace the surfaces: Loads on FE nodes would be created, which cannot be exported to the beam model RFEM. They would be missing in the framework.
Since the automatic detection of openings is a demanding topological task, it may be necessary to adjust openings manually.
However, problems with closing holes can now be solved in two ways:
- Close inappropriate openings already when creating the model - for example, with special surfaces in RFEM 6.
- Holes can be additionally closed manually in RWIND 2 Pro by creating another secondary model in the model editor, see the image below, for more information about editable models see Chapter Editable Model. This model should contain surfaces closing unwanted holes. After inserting this model into the project, you can eventually merge it with the original (primary) model, see Chapter Merge Models.