The "Edit Bar" tab of the panel includes a color scale with the assigned value ranges. Eleven color zones are set by default. They cover the range between the minimum and maximum values in equal intervals. To adjust the color scale, double-click one of the colors.
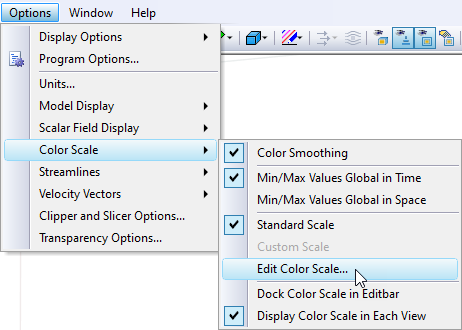
You can also use the shortcut menu of the color scale where you select "Edit Color Scale."
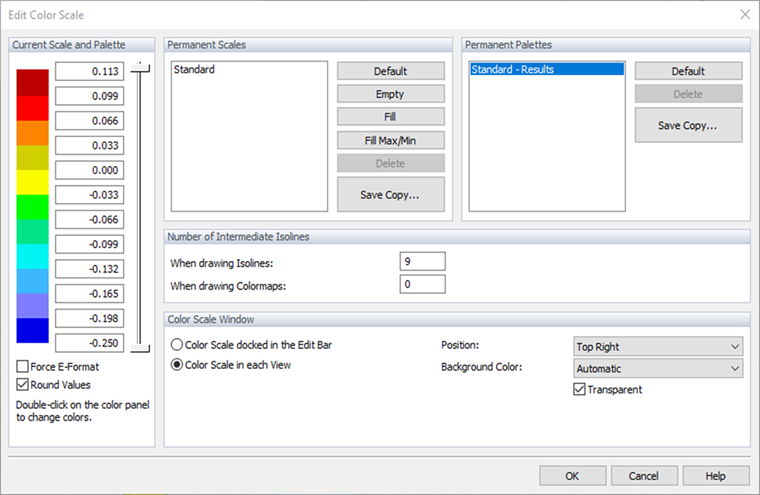
Use the vertical sliders to the right of the values to reduce the number of color ranges at both ends of the color scale. To change a specific color, double-click it. Then, select a different color in the familiar "Color" dialog box.
You can adjust the scale values individually, but make sure that you follow the ascending or descending order. The buttons in the "Permanent Scales" section help you to assign the values automatically and save the new settings for other projects. The "Save Copy..." option allows you to create a copy of the current scale (usually the "Standard Scale"), set custom values, and save this scale under a name. This scale can then be used, for example, in other projects.
By increasing the values in the "Number of Intermediate Isolines" section, you can obtain a more refined output of isolines or separation lines.
Color Scale in Each View
When displaying the results graphically in RWIND 2, you can display the "Color Scale" in each view window or have one common scale on the "Edit Bar." It is possible to switch the position of the "Color Scale," for example, from the pop-up menu after right-clicking the scale or in the dialog box for editing the color scale.
Displaying the color scale inside the view saves the space on the edit bar (which can be especially useful on smaller monitors), another advantage is the presence of a color scale on a video recorded using the function: Main Menu → Tools → Create Video File.
