The IFC import allows you to import IFC files (IFC 2x3 / IFC4.0) in the Structural Analysis View or Reference View or Coordination View.
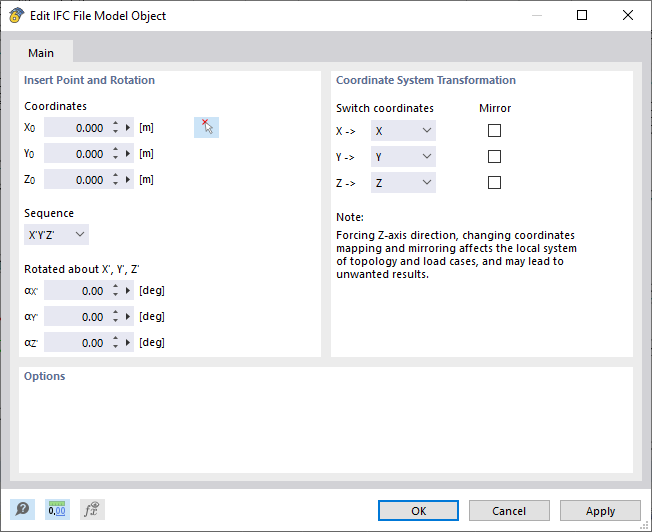
Insert Point and Rotation
You can specify the insertion point manually or define it graphically in the work window using the
 button. Optionally, a rotation in a different sequence is possible. A positive angle α rotates the model clockwise.
Coordinate System Transformation
Activate the corresponding check box to swap or mirror the coordinates.
IFC Viewer
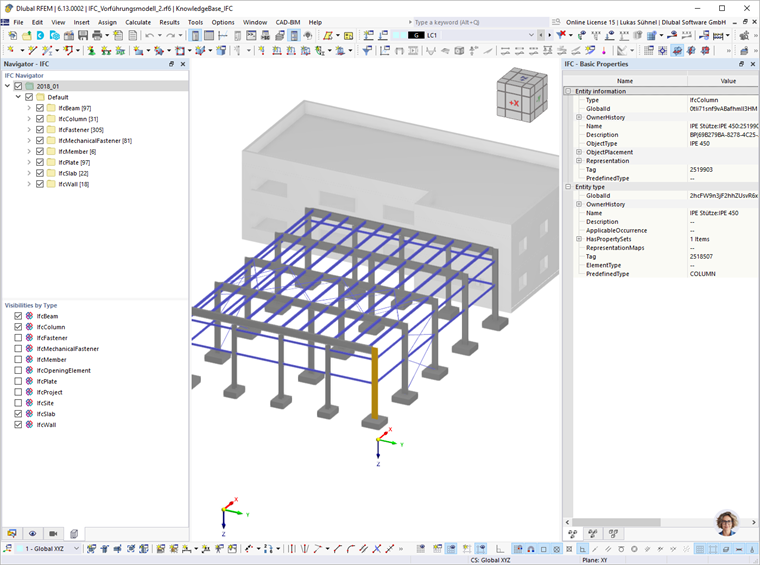
After the import, the file is displayed in the integrated IFC viewer. The visibility of the IFC objects can be adjusted in the IFC navigator based on the IFC entities. On the right side, the basic properties of the selected IFC objects are visible in the IFC properties window.

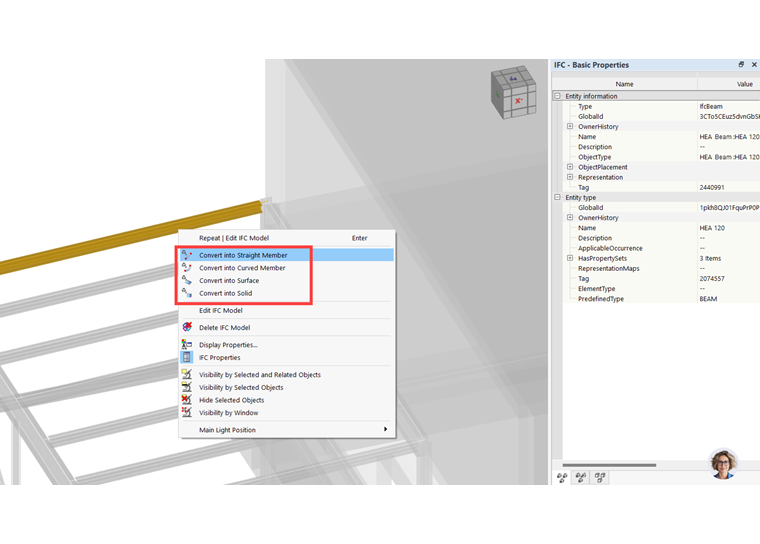
To obtain RFEM objects from the IFC model, you can convert the IFC elements in the shortcut menu (right-click) into a straight/curved member, a surface, or a solid.
For RFEM objects that were generated from an IFC element, the associated IFC properties can be displayed in the 'BIM' dialog box.

Material and Cross-Section Conversion
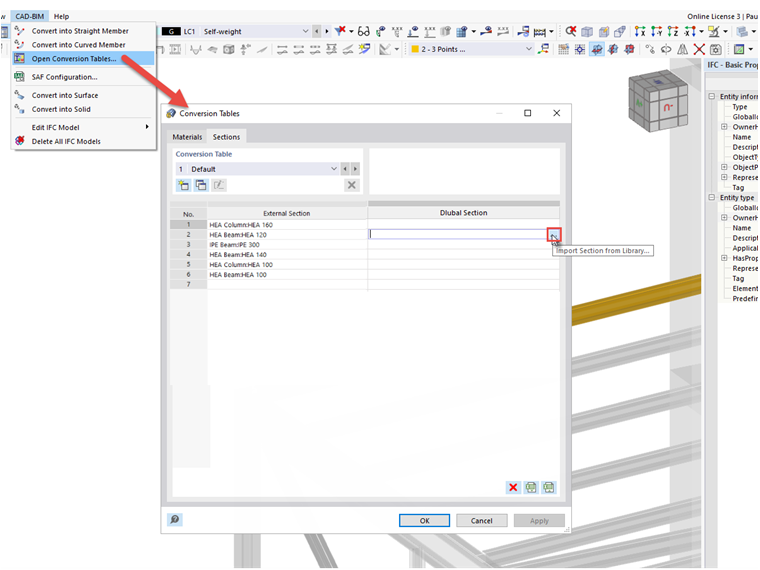
Material and cross-section information is automatically read from the IFC and stored in the conversion tables. You can access the conversion tables via the CAD-BIM menu bar.
Conversion Table
The read information from the IFC file is displayed in the left table column. The read materials and cross-sections are each stored in a separate tab. For the conversion, the Dlubal names must be assigned accordingly in the right table column. These can be selected from the material and cross-section library.
You can save the current conversion table as a template or read an already created conversion table.
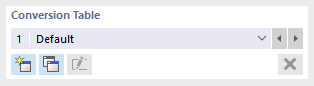
To read a preset conversion table, select the template in the dropdown list. You can then make adjustments if necessary.
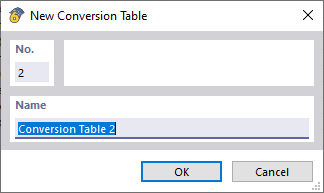
To create a new template, use the
 button and then enter the name of the template. Make the desired settings and then save them using the 'Apply' button.
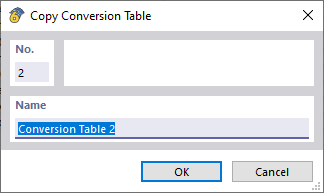
You can copy a template using the
 button. Then enter the name of the template. Make the desired settings and then save them using the 'Apply' button.
You can rename a user-defined template using the
 button and delete it using the
 button.
Additionally, the current conversion table can be exported to Microsoft Excel. To do this, click the
 button.
Microsoft Excel is called automatically. The worksheet contains the contents of the conversion table, including column headers.
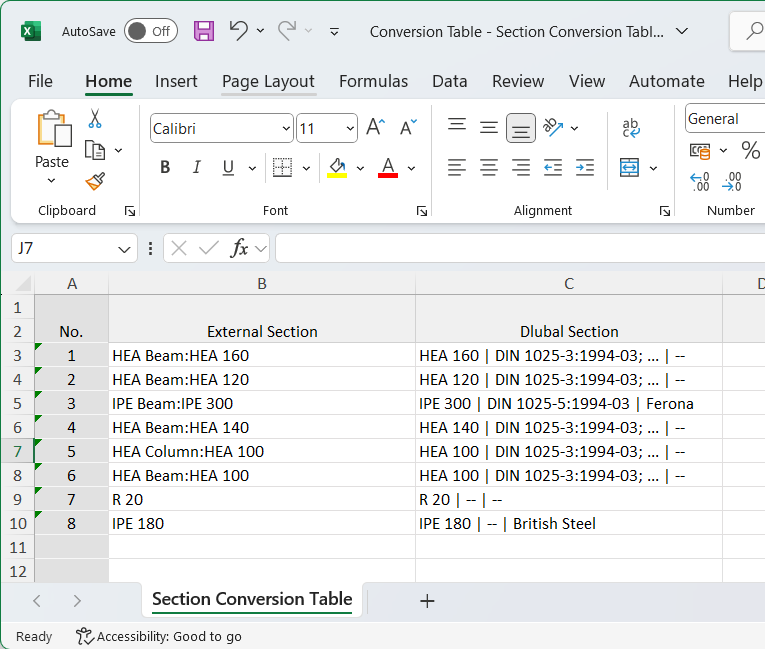
It is also possible to import a Microsoft Excel table using the
 button.