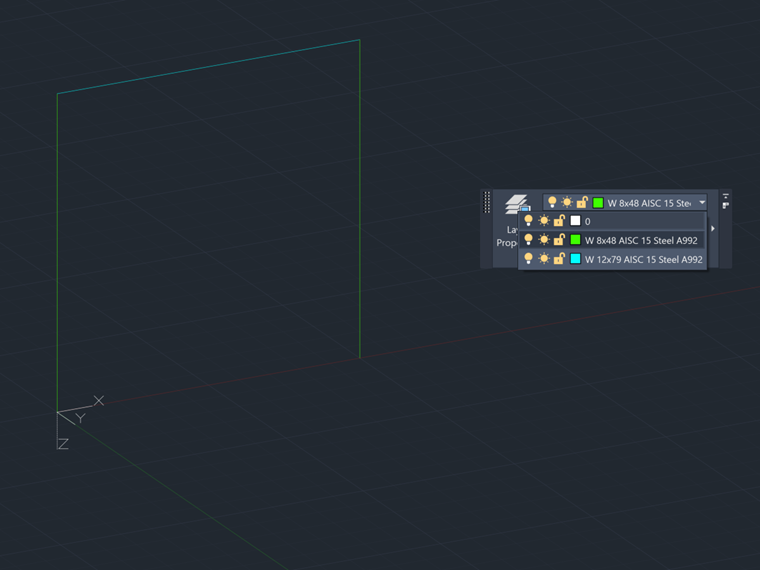
The naming of layers in AutoCAD can be used to map sections and materials to centerlines that are connecting in your model. Make sure all of the same sections and materials are grouped together in a layer for each center line.
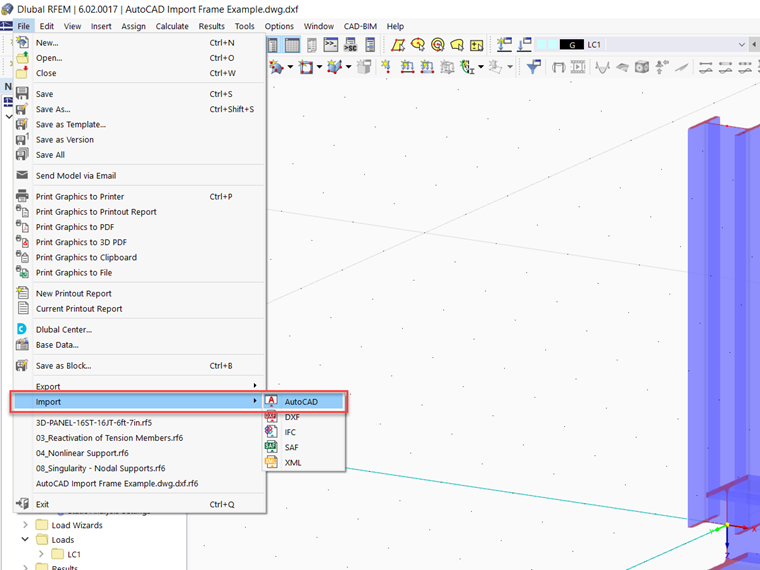
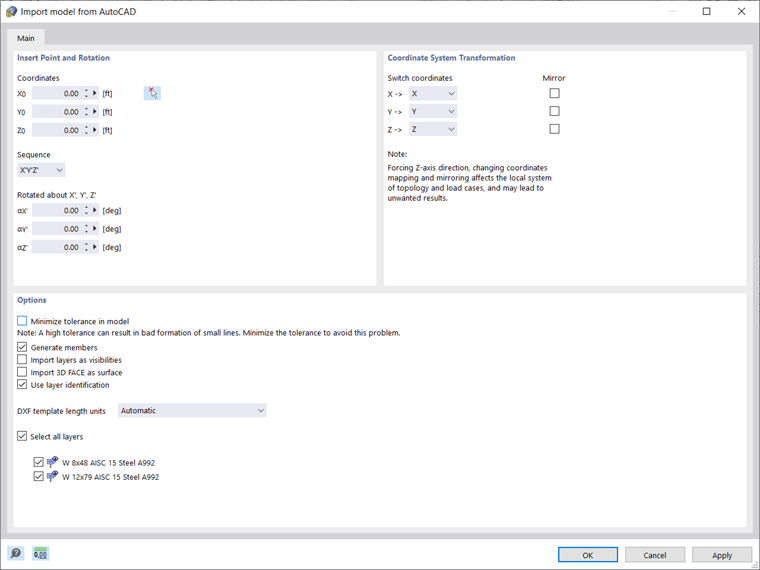
Next, open RFEM 6 and navigate to the Import options under the File menu and select AutoCAD. A new dialog box will appear and here select the options "Use layer identification" and "Generate members".
Click "OK" and then a new dialog box will appear called "Conversion Tables". This is where the name of the Layer from AutoCAD is linked with the material and section in RFEM. There are two tabs, the first is for Materials and the second is for Sections. Under the materials tab for example, in the left column the exact name of the Layer in AutoCAD must be typed and then in the right column there is a button with 3 dots in the cell. Press this button and the material library will appear. Select the material and then this will be applied to the lines associated with the linked Layer.
After linking materials and sections, click "OK" and then one last dialog box will appear giving details on the imported model. Click "OK" and then you will see the model with mapped materials and sections.


