


The RWIND Simulation program is protected against unauthorized use. The program can be authorized offline (the computer is not connected to the Internet) with activation by email. This FAQ also applies to RWIND 2.
To do this, proceed as follows:
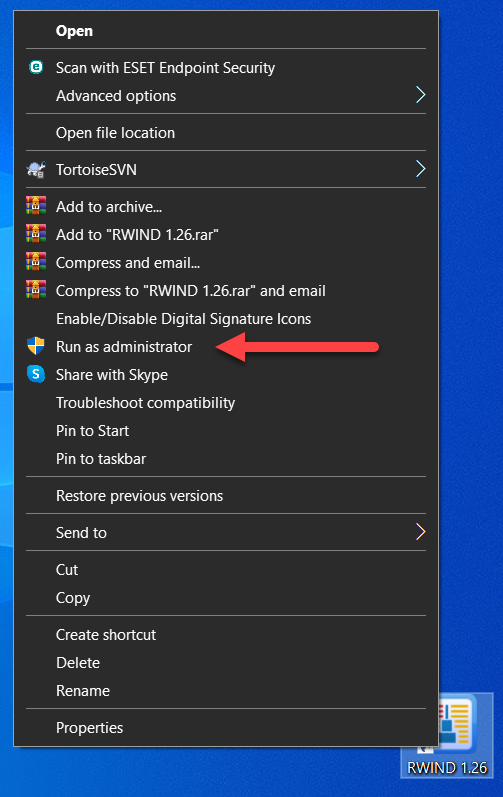
- Run RWIND Simulation "As Administrator". To do this, right-click the RWIND Simulation icon and select "Run As Administrator".
- Click the "Activate Now" button to confirm the authorization check.
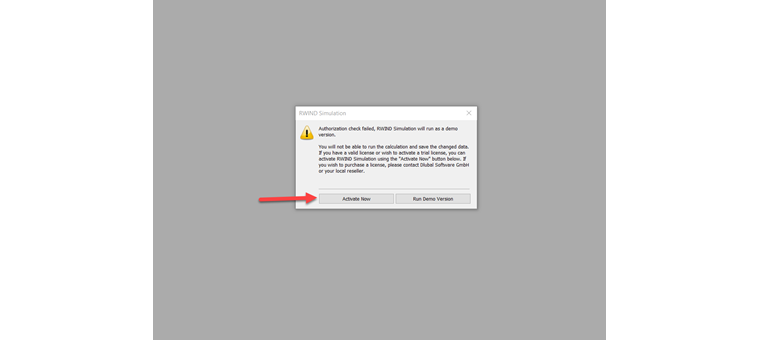
Then, the "RWIND Simulation 1.xx Demo Authorization Status" dialog box appears.
- In the "RWIND Simulation 1.xx Demo Authorization Status" dialog box, select the "Software Key" option in the Authorization Method area and click the "Activation by Email" function in the lower part.
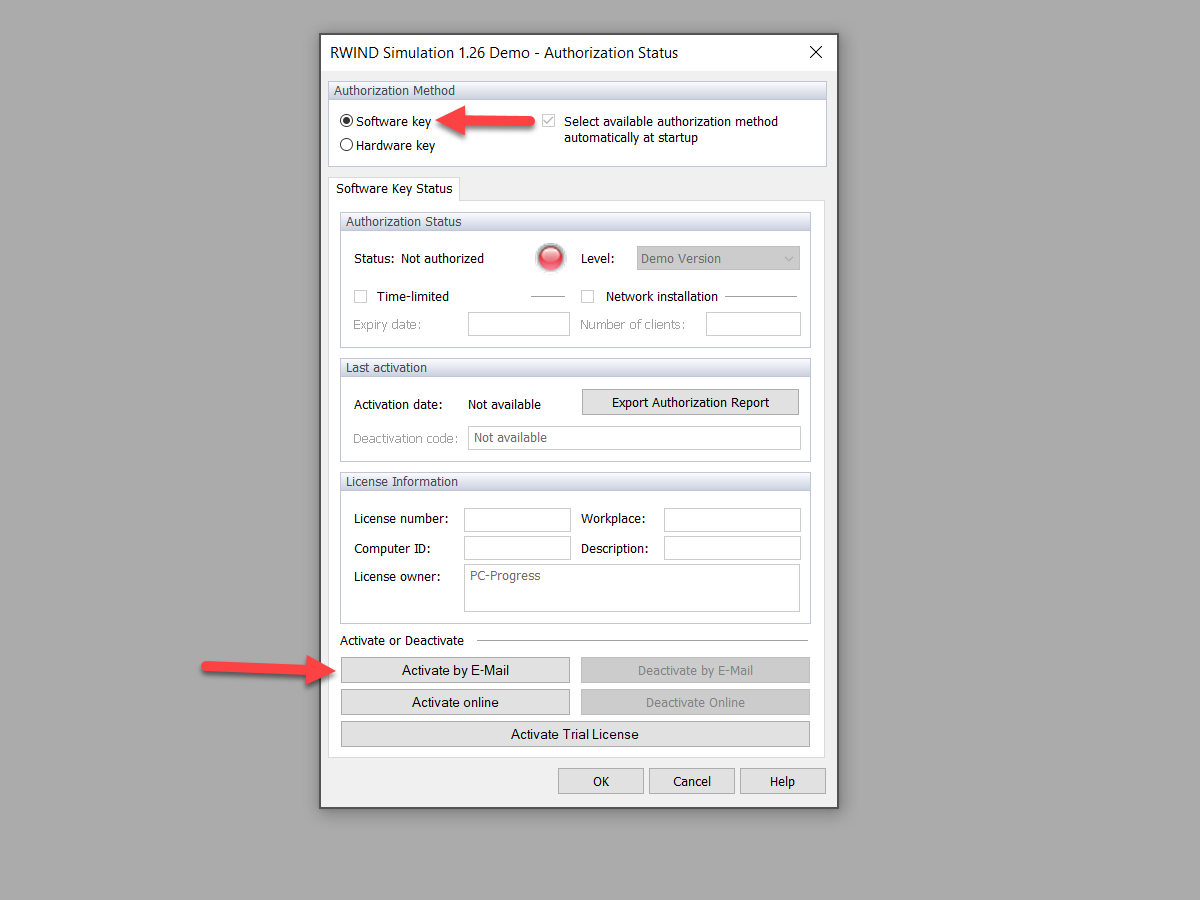
This opens the "Activation by Email" dialog box.
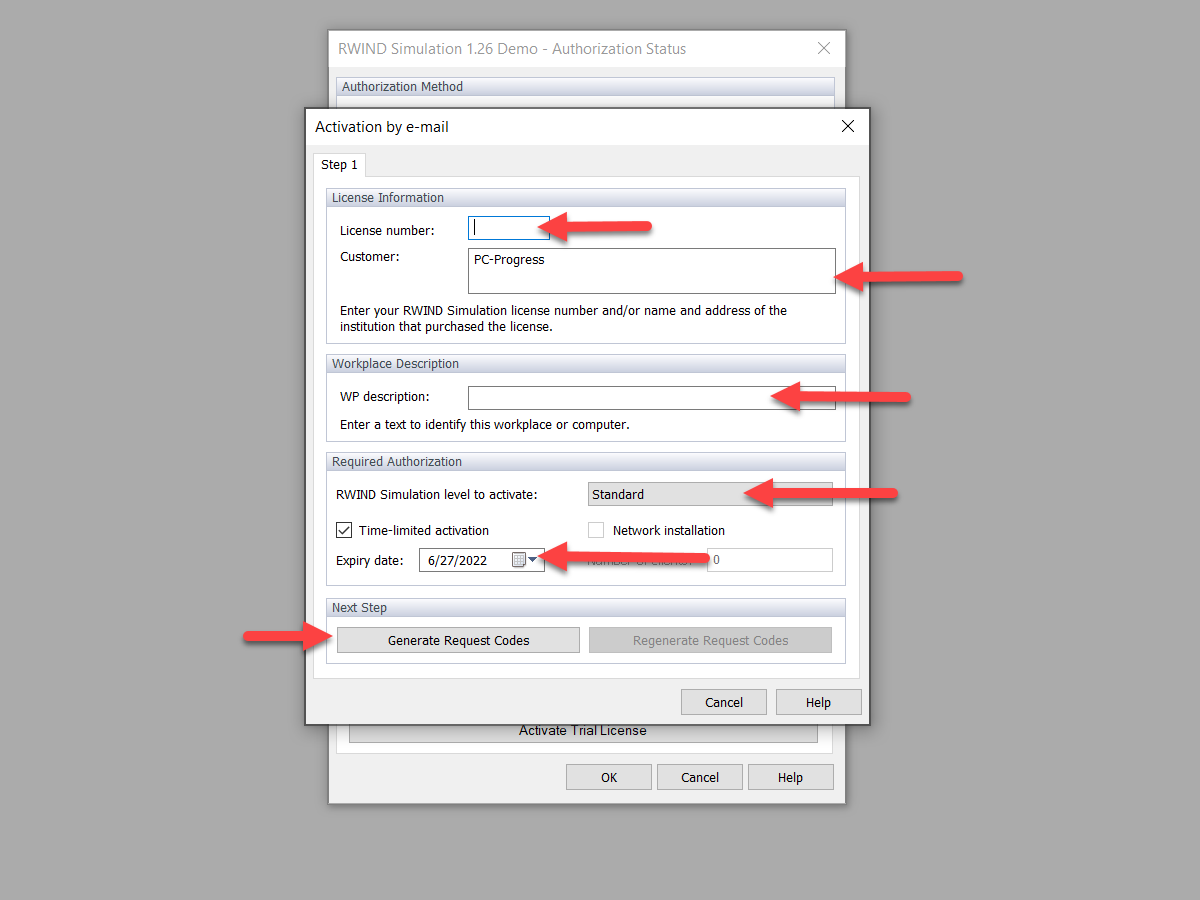
- In the "Activation by Email" dialog box, enter your license information (license number and/or name and address of the institution that purchased the program license) based on your contract documents.
Furthermore, enter a user-defined description of the workstation to be activated under "Description of Workspace" and the RWIND Simulation level with the expiry date of the activation to be carried out under "Required Authorization".
Then, click the "Generate Request Code" button to confirm your entries.
The "RWIND Simulation 1.xx Demo" dialog box appears.
- Check the data entered in the "RWIND Simulation 1.xx Demo" dialog box. If they are correct, click "OK" to confirm the dialog box.

This opens the "Activation by Email" dialog box.
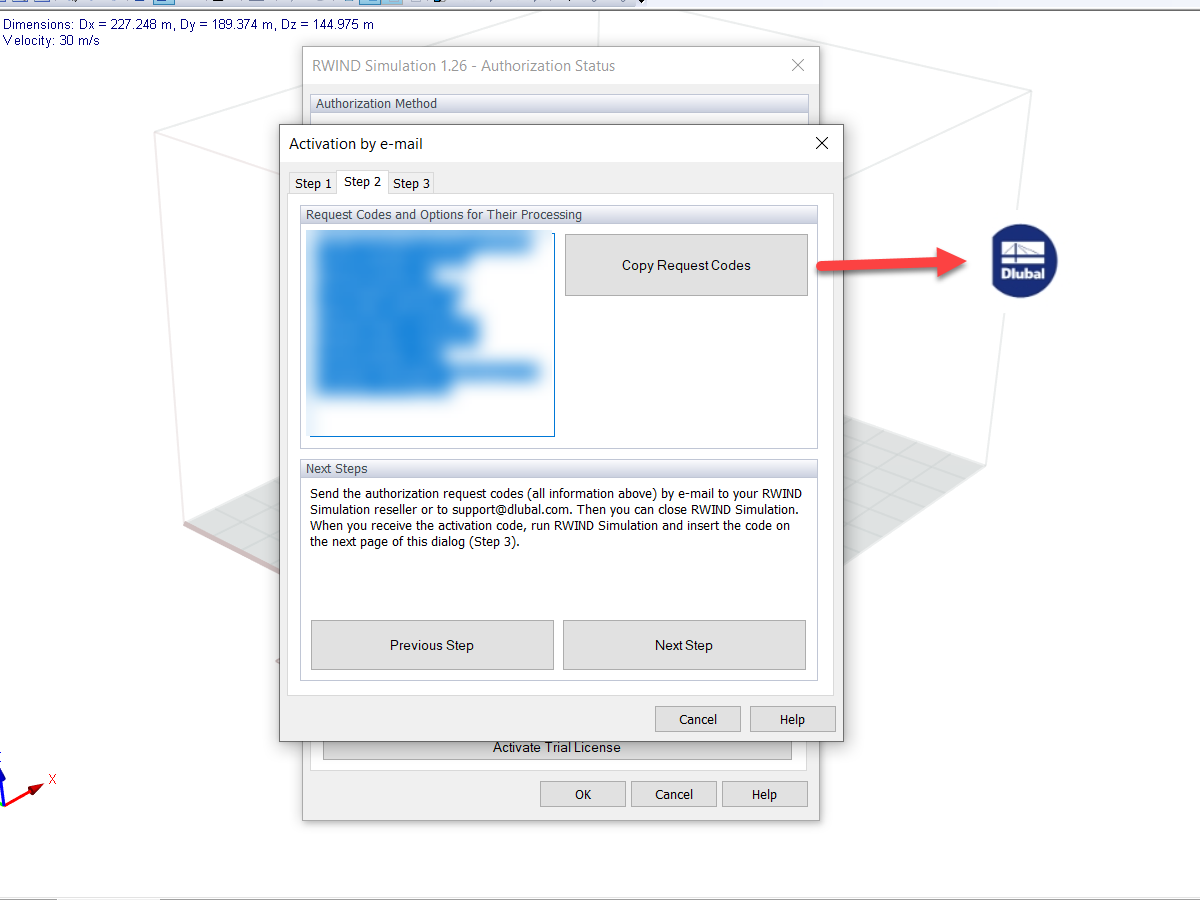
- The "Activation by Email" dialog box consists of three parts. In the "Step 2" tab, the required request code is displayed on the left. Copy this text block to the Windows clipboard by clicking the "Copy Request Code" button, then pasting the code into a blank email with Ctrl+V or using the Windows paste function. Send this email to [email protected] for further processing.
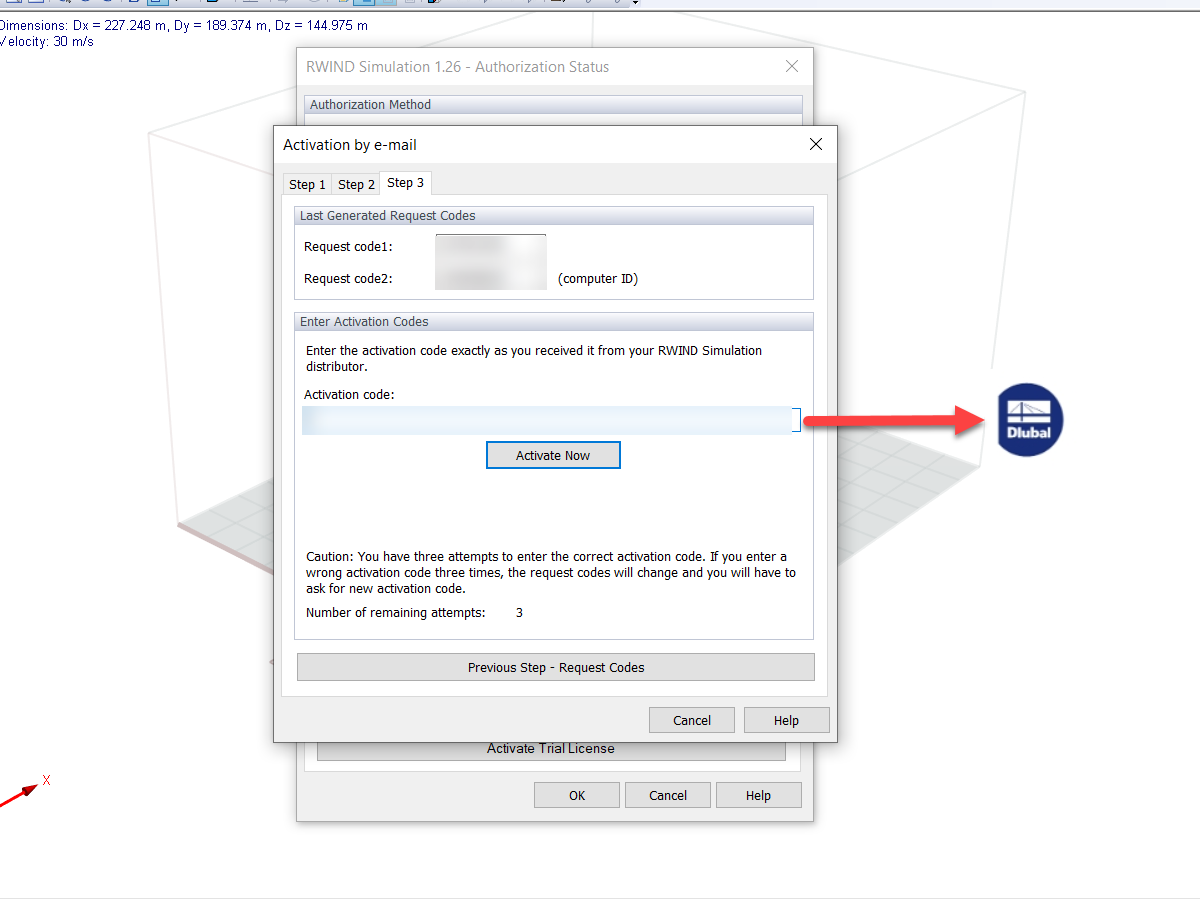
- You will receive an activation code from us. In the dialog box, go to the "Step 3" tab and enter this code in the "Activation Code" text box.
Then, click the "Activate Now" button to run the activation process.
Upon successful authorization, you will receive a confirmation message and it will be possible to use the program without restrictions.
This offline email activation uses your purchased license for the defined activation period in our system. During this time, it is not possible to activate the RWIND Simulation program with the license on any other computer. The assignment of the license in our system ends with proper deactivation or after the defined activation period has expired.
Then, the activation process can be carried out again on the same or a different computer. Please note that the email request codes can only be used once for activation. To reactivate, a new request code must always be sent to us.
To avoid unnecessary license assignments in our system due to unexpected computer problems on your part (defect, loss, hardware replacement, employee change, and so on), we recommend that you keep the activation period as short as possible.