


Download and Install RFEM
Download a Free Full Trial Version of RFEM to test our structural analysis software. It will allow you to examine the program features without any limitations for 90 days.
If you already have an REFM license, note that a new version of the software comes out weekly and should be updated accordingly to stay up to date with the latest version of RFEM. This can be done by first logging into your Dlubal account through the Dlubal homepage.

Once logged in, your account dashboard should open. If not, hover your mouse over the
![]() icon. A dropdown menu will appear; select 'My Account'.
icon. A dropdown menu will appear; select 'My Account'.
Then select 'Products to Download' from your account dashboard. This is where the current version of RFEM 6 can be found. Under the 'Download URL' section, click on the link in the RFEM 6 row.

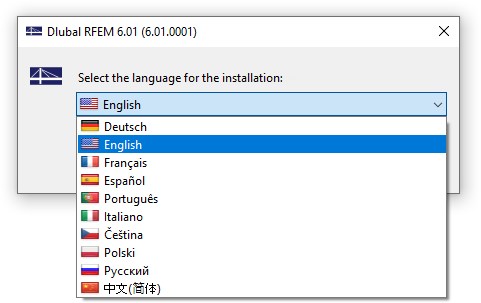
Before you start the installation, make sure that you have administrator rights. Start the installation by double-clicking the file that you have downloaded. In the start dialog box, select the language.
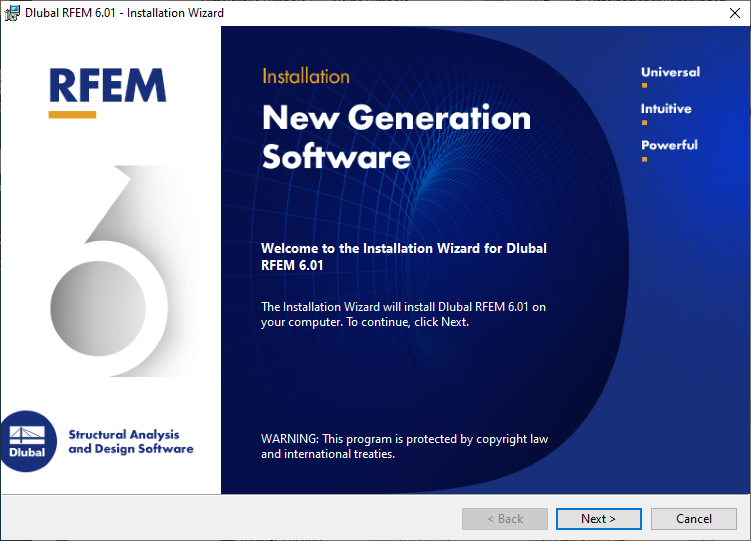
Then follow the instructions of the installation wizard.
The wizard provides the option for you to adjust the default settings. They will control the preset standards, materials, sections, and units. For this tutorial, we will want to change the 'Region' to North America (USA) as well as the 'Unit System' to Imperial.

Starting RFEM
To run RFEM, click Start, point to Dlubal, and open the list. Then click Dlubal RFEM 6.xx.
You can also double-click the Dlubal RFEM 6.xx icon on the desktop.
Change Region and Unit Default Settings
If you have already installed the latest version of RFEM and are trying to change the region and unit system, you can do so in the model. Select the 'Options' tab from the menu bar. A dropdown menu will appear, select 'Program Options'.
The 'Program Options & Settings' dialog box will appear. Click on the 'Settings' tab. In the 'Program Language' area you can select your region and unit system.

An alternative way to change the units of the model would be to again select 'Options' from the menu bar. This time select 'Unit and Decimal Places' from the dropdown menu. Then click on the 'Load Saved Template' button in the bottom left corner of the dialog box. The 'Load Template' dialog box will appear. You can then select the check box next to 'Imperial'. Select 'OK' twice to close the dialog boxes.

Creating the Model
The RFEM work window opens. A dialog box is shown where the general data of a new model has to be defined. (If RFEM already displays a model, close it by clicking Close on the File menu. Then click New on the File menu to open the 'New Model - Base Data' dialog box.)

Enter Tutorial in the 'Model name' box and Slabs and platform in the 'Model description' box. The model name must always be entered since it is also the file name. The description is optional.
In the 'Type of Model' area, the 3D option is set by default. It is required for spatial modeling.
Then click the second tab of this dialog box: Add-ons.

Make sure that the Combination wizard and classification and Load wizards options are activated. They enable you to create load combinations per selected standard and convert area loads to member loads automatically.
Go on to the Standards I tab.

In the 'Load Case Classification & Combination Wizard' area, ensure ASCE 7 from the 'Standard group' list and 2022 'Edition' are selected.
In the 'Load Wizards' area, ASCE 7 from the 'Standard group' list and 2022 from the 'Edition' list are preselected.
The 'Design options' are unavailable as they were not enabled in the previous tab.
Next, select the Settings & Options tab.

In the 'Global Axes XYZ' area, make sure that the Z upward option is set. Furthermore, check whether the z upward option is selected in the 'Local Axes xyz' area. The former controls the global axis system of the model, the latter controls the local axes of members and surfaces.
The general data of the model is now defined. Close the dialog box with the OK button.
The empty RFEM work window is displayed.