


Creating Materials
The procedure of creating or editing objects, such as materials, thicknesses, cross-sections, or types, is always the same in the "Data Navigator" of RFEM 6.
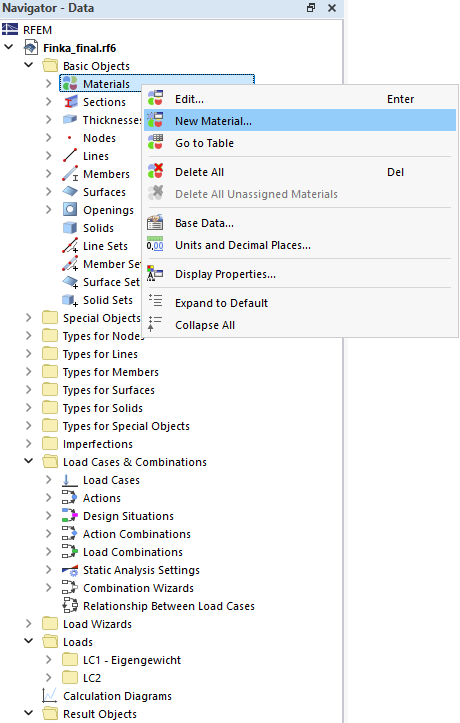
Use this procedure to create a new material.
In the "New Material" dialog box, you can select the Masonry material type. Thus, an isotropic and an orthotropic material model are available specifically for masonry. The orthotropic material model, which is new in RFEM 6, represents precisely the material properties of masonry and is used in this webinar.
Use the
![]() button to open the material library, which already includes a large number of materials. After the selection, you can create a new material via
button to open the material library, which already includes a large number of materials. After the selection, you can create a new material via
![]() .
.

In order to use a masonry material that is not defined in the material library, you can enter the specifications in the "Standard Classification" and "Orthotropic|Masonry (Surfaces)" tabs. We recommend setting the horizontal compressive strength to 60% (for 1), 80% (for S1), 10% (for 2), 5% (for 3), or 100% (for 4) of the mean compressive strength, depending on the masonry material.
Materials Used in Webinar
In the webinar, Porotherm bricks were used for the exterior and interior walls, solid stone for the exterior, and C25/30 concrete for the ceilings.


Creating Thicknesses
To use the materials for modeling surfaces, it is now necessary to create thicknesses. You can do this again using the "Data Navigator". Select the material and enter the appropriate thickness. Use the
![]() button to create a new thickness for the next material.
button to create a new thickness for the next material.
