


In general, the following points are particularly important when you create the antenna bracket:
- The first node that will be connected to the tower is Node 1.
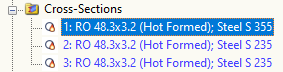
- A member with Cross-Section 2 connects to this node. All other members that are connected to the tower must also have Cross-Section 2.
- Members to which antennas are to be attached have the Cross-Section 1.
- General members without special properties have the Cross-Section 3.
First, you create a new model and define the Cross-Sections 1 to 3.
Afterwards, you create two members with Cross-Section 2, which will later be connected to two legs. The dimensions are not relevant, but should be based on a common tower.
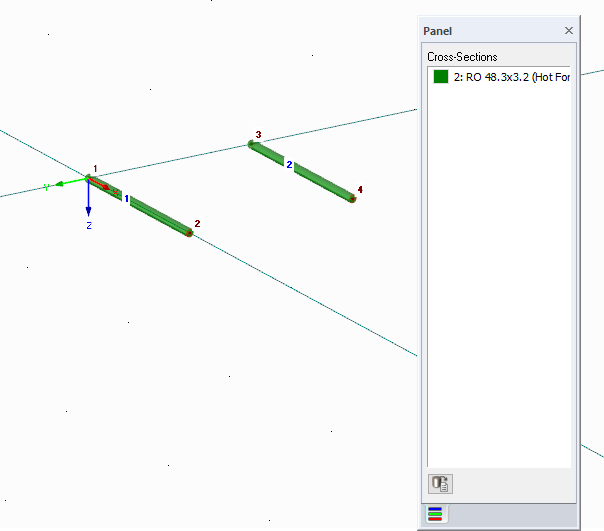
The next three members are general members without a special function and, therefore, have the Cross-Section 3.
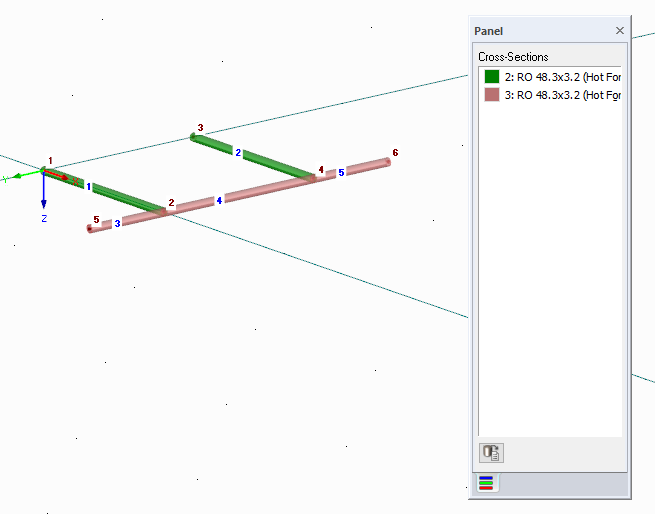
Copy all members to the top and create six members according to the following image, to which antennas can be defined. These members are, therefore, Cross-Section 1.

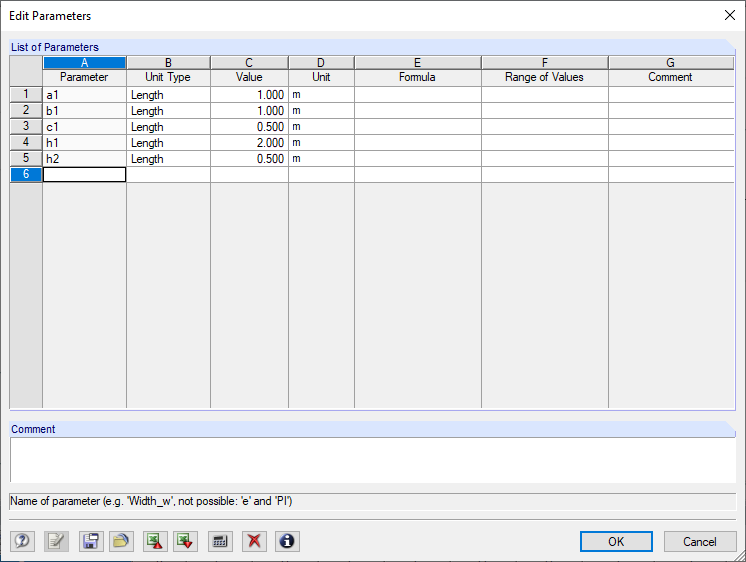
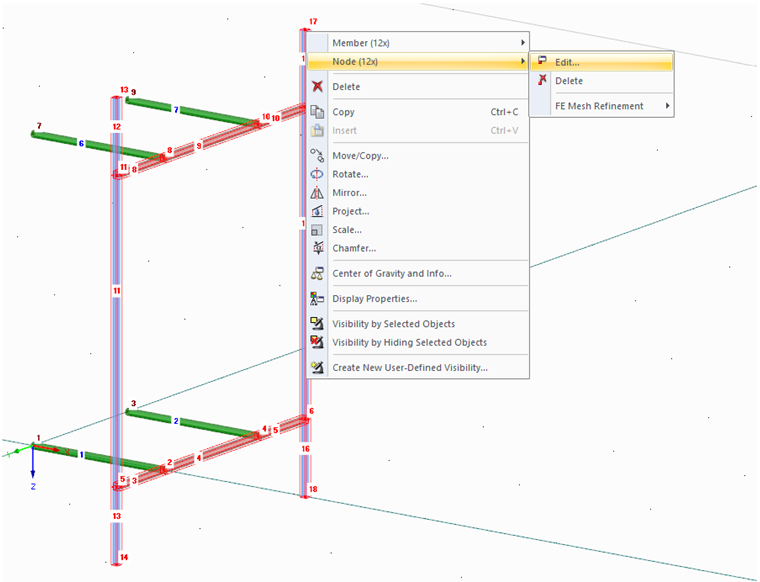
Since the antenna support should be used for any towers and masts with different dimensions, it is necessary to parameterize the nodes. To do so, create all the parameters in the first step. To open the corresponding dialog box, click the [Edit Parameters] button above the table. It is important that you do not use the parameters a and b, because they are already being used for the platforms and the basic geometry of the tower. It is not necessary to parameterize all the nodes. Assign five parameters for this antenna bracket.
Assign the parameters by selecting single or multiple nodes and assign the parameters to the coordinates or a formula that uses the parameters.
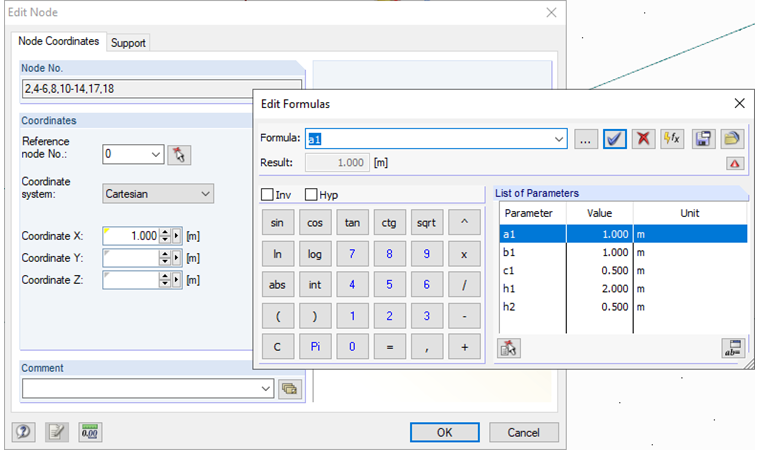
All coordinates that are parameterized have a yellow triangle in the respective cell, which makes the parametrization clearly visible. Thus, you can quickly review in the table the extent to which the parameters have been assigned and, if necessary, correct errors more quickly.

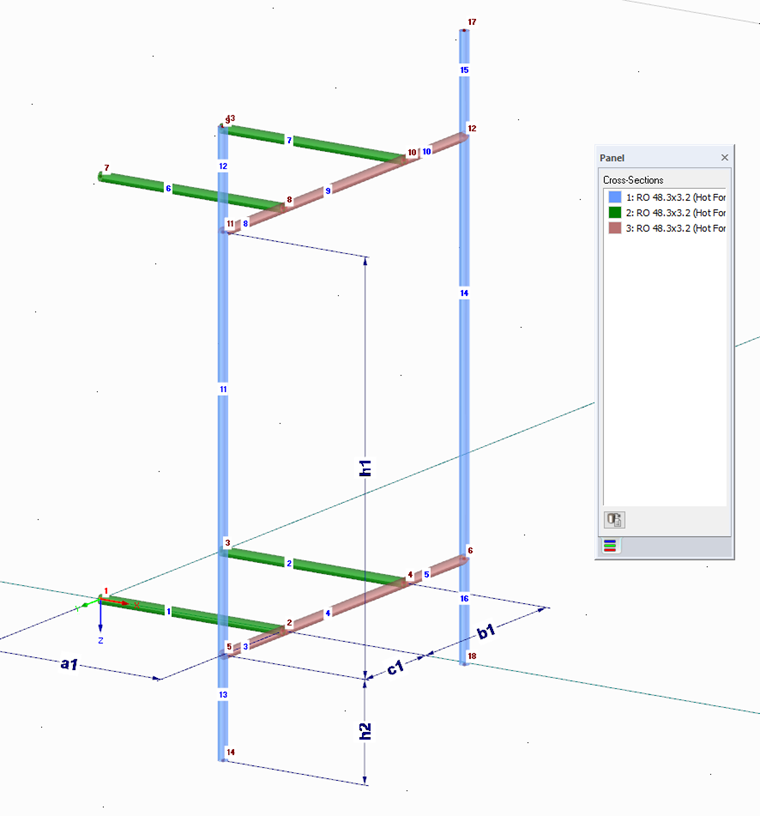
The following image shows how the parameters are assigned.
In the last step, select the entire model and save it as a block in the directory of the antenna brackets, either in 2D or 3D.
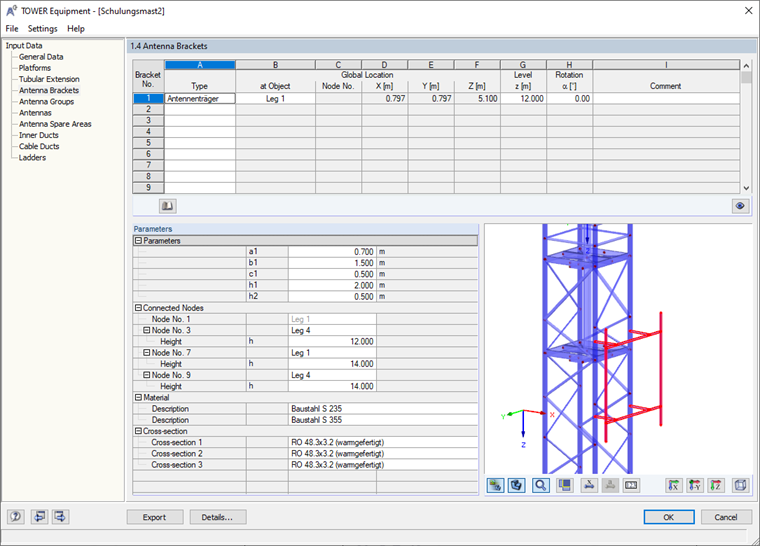
You can now open the antenna bracket and add it in the RF-/TOWER Equipment add-on module. You can adjust the parameters easily. You can also assign the antennas to the members with the Cross-Section 1 in the corresponding input window.

