


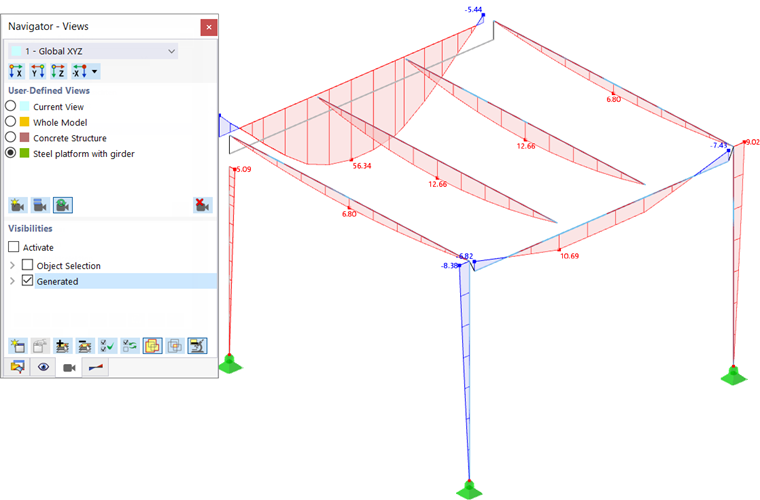
You can save a specific view of the model or a current visibility as a user-defined view. The user-defined views allow you to save certain angles of view, zoomed displays, parts of a model, and settings in the "Navigator – Display", so you can use them for entering the data or for the evaluation. The user-defined views are managed in the Navigator – Views.
To save the current view, click the
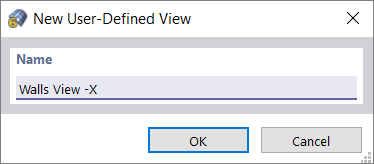
![]() button in the "User-Defined Views" navigator section. Then, define the name of the view in the "New User-Defined View" dialog box.
button in the "User-Defined Views" navigator section. Then, define the name of the view in the "New User-Defined View" dialog box.
After clicking OK, the view is added to the list of user-defined views. When the
![]() button is activated (default setting), you can switch between the views by clicking in a selection box
button is activated (default setting), you can switch between the views by clicking in a selection box
![]() .
.
The buttons below the view list have the following functions:
|
|
Create a new user-defined view from the current view |
|
|
Replace the selected (not activated) view by the current view |
|
|
Control whether the view can be updated by selection fields |
|
|
Delete the selected user-defined view |
To add or delete objects in a view, for example, proceed as follows:
- Set the view.
- Deactivate the automatic updating by clicking the
 button so that it is displayed without a frame.
- Adjust the view.
- Save the modified display with the
 button.
- Reactivate the
button so that you can switch between the views.
Use the buttons in the upper navigator section to quickly set a default angle of view. The buttons are described in the chapter Control in Graphics. If you want to apply a user-defined coordinate system for the axes, you can select it in the coordinate system list.
Viewpoint for View
The point from which the model is seen is called "Viewpoint". This view setting is managed in the "Edit Viewpoint" dialog box, which you can access in the View → Viewpoint menu.
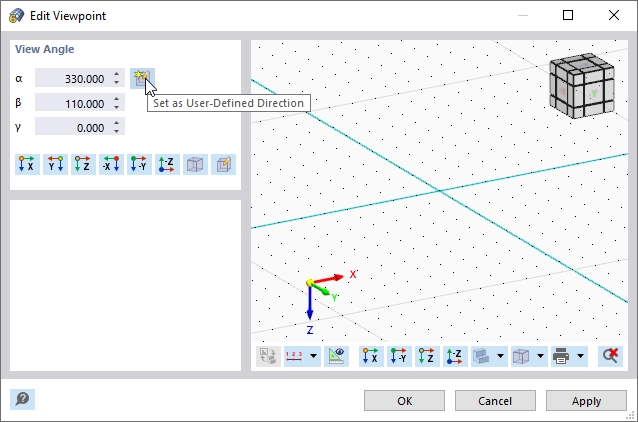
The current view on the model is set as the "View Angle". It is determined by the angles α, β, and γ, which you can check and, if necessary, adjust in the dialog box.
If you want to save the current view point as a user-defined view angle, click the
![]() button (see the image above). After closing the dialog box, you can activate this user-defined view angle angle by clicking the
button (see the image above). After closing the dialog box, you can activate this user-defined view angle angle by clicking the
![]() button in the toolbar (see the image
Buttons for View
).
button in the toolbar (see the image
Buttons for View
).
The other buttons available in the "View Angle" dialog section can be used to preset one of the default views.