


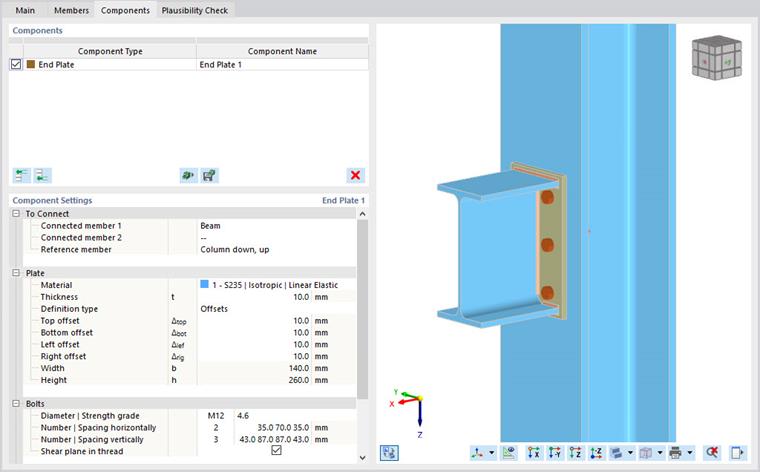
With the End plate component, you can connect one structural component to another using a bolt group, an end plate, and welds. This component also makes it possible to connect two structural components with a similar setting.
Connect to
The first category of the component settings manages the definition of the connected structural components and the reference structural component.
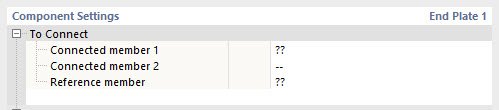
The first connected structural component is mandatory. It can be selected from all structural components connected to the node. The second connected structural component is optional, for example, if another structural component at the node is to be connected with the same or similar settings. This option is useful when beams with the same cross-section are connected to a supporting structural component to represent a double-shear connection.
The reference structural component is usually the supporting structural component. In general, it is the structural component to which the connected structural components are attached.
Plate
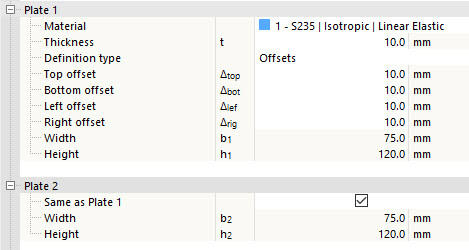
The following category controls the definition of the end plate itself. Select the plate material from the defined materials or create a new material. Then, enter the thickness of the plate.
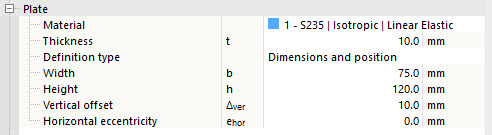
You can define the dimensions of a rectangular end plate either via Offsets or via Dimensions and position. Select the appropriate option from the list. Circular plates are defined by their diameter.
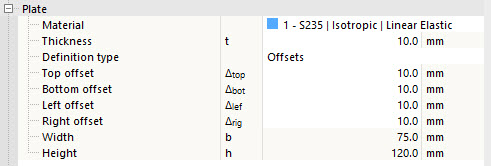
If you define the end plate via Offsets, its size is derived from the cross-section dimensions of the connected structural component. That is, how far the end plate projects beyond the bounding box of the cross-section. You can check the overall dimensions of the plate in the last lines, but you cannot change them.
If you select the Dimensions and position option, you can enter the size of the plate directly. The position of the end plate depends on the connected structural component: The vertical position is measured from the top edge of the profile (positive values upwards), while the horizontal eccentricity is measured from the center of gravity of the structural component's cross-section.
Switching between the definition types does not change the position or the dimensions of the plate. The values are recalculated to reflect the current definition.
Plate 2
If a second connected structural component has been specified, you can define the corresponding end plate in a similar way.
Bolts
This category manages the properties of the bolts.

Define the bolt diameter and the strength class in the first line by selecting the appropriate entries from the lists.
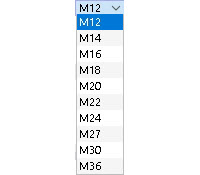
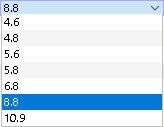
In the next two lines, you can define the spacing of the bolts in the horizontal and vertical directions. The edge and axial distances are entered in the line separated by spaces. The distances of a subgroup can also be entered as a multiplication (e.g., 3*50). Missing entries are automatically completed consistently with the geometry of the end plate.
Activate the Pretensioned bolts function to consider a pretension. The pretension force factor and the friction coefficient under the head bearing are defined in the Strength configuration.
If the Thread in shear plane option is activated, the lower strength (reduced area) is considered for the shear design according to the selected design standard.
Furthermore, in the Bolt list, you can also deactivate individual bolts if you want to create an irregular bolt pattern.

Welds
The last category controls the welds for the individual parts of the end plate. If you deactivate a check box, this weld is not applied.
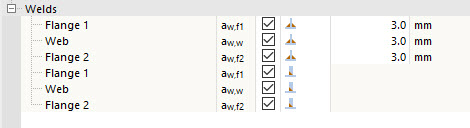
If you select the area to the right of the check box, a list is displayed from which you can select the type of weld. Several types of fillet welds and butt welds are available. For fillet welds, each thickness must be defined.