The Models category in the Dlubal Center provides an overview of your projects and model files.
Projects
Your projects are listed in the Project Navigator on the left. If you click on a project in this directory tree, you can see the models of this project to the right of it.
The functions for organizing your projects are available via the File menu and the shortcut menu.
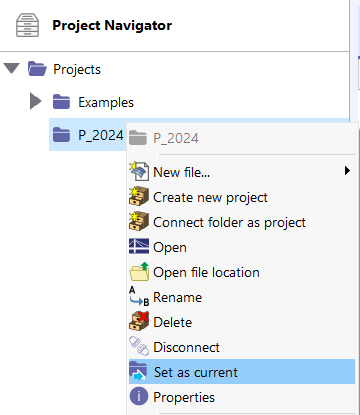
After starting the Dlubal Center, the Project Navigator displays the current project. This is indicated by a blue arrow and in bold. The current project is also preset as the storage location for new models. To set another project as the current one, select it and then click Set as Current.
You can find the information about the project, such as the name, description, and directory of the project, in the properties. You can also change the description in the dialog box.
You can open the file storage location of the selected project directly in Windows Explorer via Open file location.
Creating New Projects
First, select the project in the navigator in which you want to create the new project. Then, click Create New Project to create a new project.
Enter the "Project name" and specify the "Project folder". Click the
![]() button to set the file folder in the Explorer. As an alternative, you can enter the folder directly. The folder does not have to be available on the hard drive, but can be created in the "Create Folder" dialog box.
button to set the file folder in the Explorer. As an alternative, you can enter the folder directly. The folder does not have to be available on the hard drive, but can be created in the "Create Folder" dialog box.
The "description" is optional. This description also appears in the printout report (see the image Model and Project Description in Printout Report ), but has no further relevance.
Connecting Folders as Projects
First, select the project in the navigator in which you want to integrate the project. Open Connect Folder as Project and then select the folder to be integrated.
The "Project Name" is taken from the folder name. However, you can also change the project name.
Select the "Include subfolders as subprojects" option to include all folders contained in the selected project folder in the Dlubal Center management at once.
The "description" is optional. This description also appears in the printout report (see the image Model and Project Description in Printout Report ), but has no further relevance.
Renaming Projects
First, select the project to be renamed in the navigator. Select Rename Project and enter a new project name.
Disconnecting Projects
To disconnect a folder in the Dlubal Center management, select the project and then click Disconnect Project.
Deleting Projects
To delete a project, select the project and click Delete Project. The folder, including its contents, is completely deleted from the hard disk.
If the folder also contains files from other programs, only the RSECTION files are deleted and the folder itself remains.
Models
All models of the project selected in the Project navigator are displayed in the middle of the Dlubal Center.
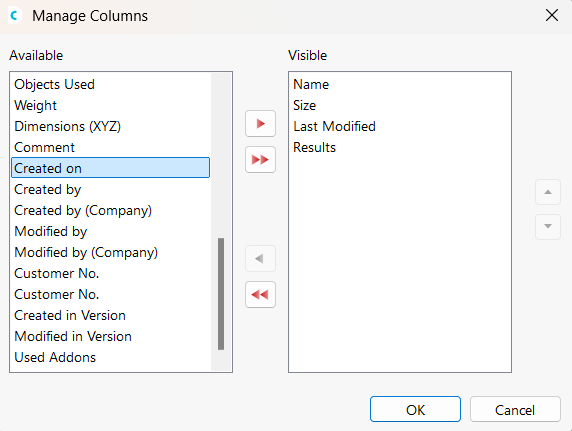
You can use the
![]() button to specify which columns you want in the list view. You can also open the column manager using the View menu.
button to specify which columns you want in the list view. You can also open the column manager using the View menu.
The models can be sorted in an ascending or descending order using the
![]() button. Furthermore, you can sort the list by various criteria, such as name, modification date, and so on.
button. Furthermore, you can sort the list by various criteria, such as name, modification date, and so on.
You can adjust the display size of the model graphics with the slider in the bottom-right corner. You can use the
![]() and
and
![]() buttons to control whether the models are displayed as icons or in a list.
buttons to control whether the models are displayed as icons or in a list.
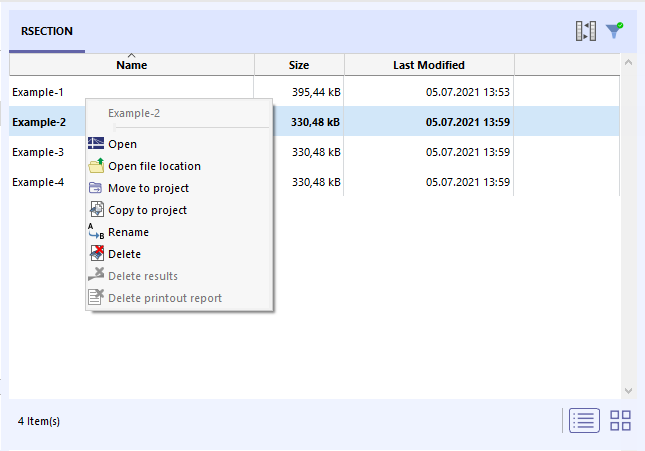
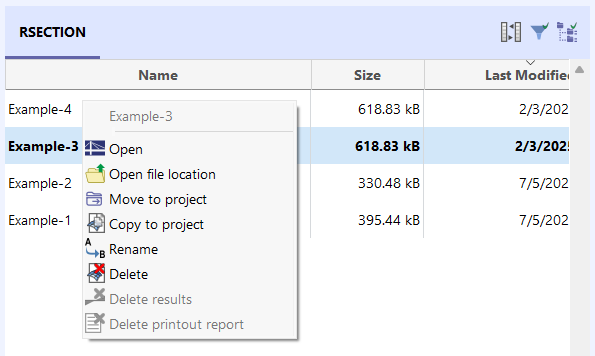
The functions for organizing your models are available via the File menu and the shortcut menu.
You can open the file location of the selected model directly in Windows Explorer by clicking Open File Location.
Filter
The filter allows you to filter the models by various criteria.
You can use the
![]() button in the bar above the model overview (see the image Models) to show and hide the filter function. Alternatively, use the
button in the bar above the model overview (see the image Models) to show and hide the filter function. Alternatively, use the
![]() and
and
![]() buttons in the Project Navigator.
buttons in the Project Navigator.
New Model
You can create a new model not only in the RSECTION user interface, but also in the Dlubal Center. To do this, use the list in the New dialog section, or select New File in the shortcut menu.
Click the RSECTION model entry to open the 'New Model - Base Data' dialog box (see the image New Model - Base Data ). In this dialog box, you can enter the model name and define the basic parameters of the model.
Opening Models
You can open a model by double-clicking it, using the shortcut menu of the model, or the File menu.
Moving Models to Projects
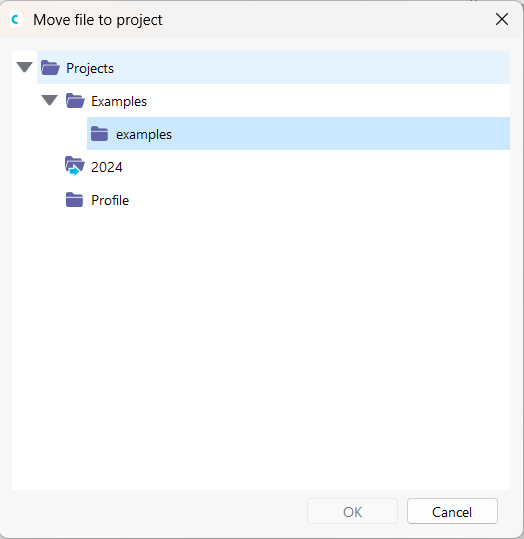
First, select the models to be moved and click Move to Project. Then, select the project where you want to move the models.
Copying Models to Projects
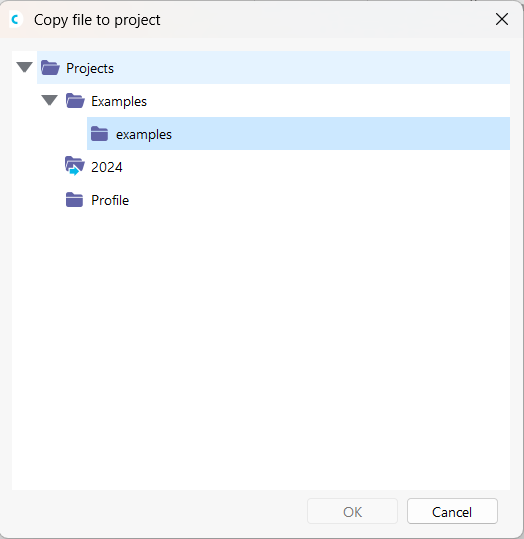
First, select the models to be copied and click Copy to Project. Then, select the project where you want to copy the models.
Renaming Models
First, select the model to be renamed. Select Rename Model and enter a new model name.
Deleting Models
To delete a model, select the model and click Delete Model.
It is also possible to specifically delete the results and / or printout reports of the model. The input data remains in these cases.
Details
In the Dlubal Center section on the right, you can see the preview of the selected model, including important model and file information. The names of the creator and editor are also given.
Use the switch button
![]() (see image Models) to show and hide the details. For this, you can also use the View menu.
(see image Models) to show and hide the details. For this, you can also use the View menu.


