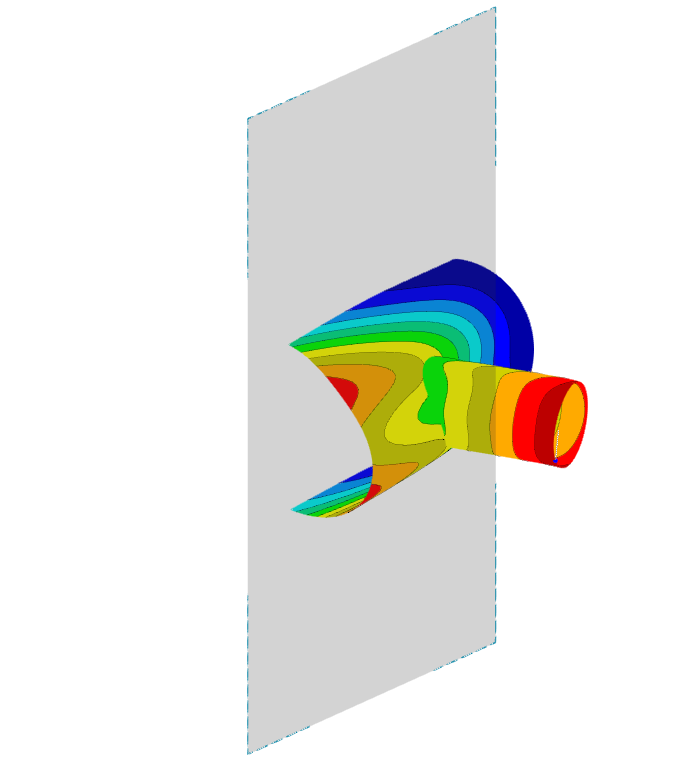
Clipping planes are intersecting planes that you can place freely throughout the model. The zone in front of (or behind) the plane becomes transparent in the view. This way, you can show, for example, results in an intersection or a solid.
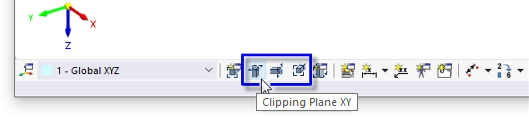
Three clipping planes are preset in line with the global planes (XY, YZ, and XZ). You can show and hide these planes by clicking the buttons in the CAD toolbar, using them for evaluation.
Use the
![]() button to quickly define a new clipping plane.
button to quickly define a new clipping plane.
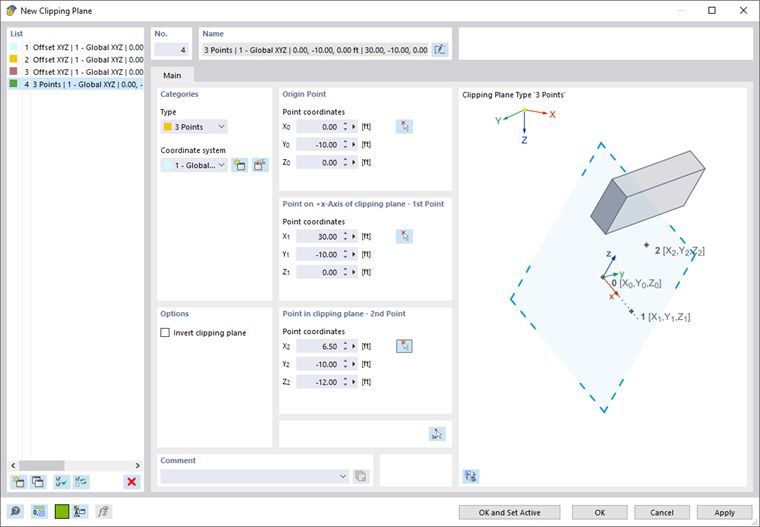
Categories
The list provides several options to define the "Type" of the clipping plane:
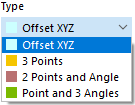
- Offset XYZ: The plane is parallel to a global plane at a certain distance from the origin.
- 3 Points: The plane is defined by three points.
- 2 Points and Angle: The plane is defined by two points and a rotation angle.
- Point and 3 Angles: The plane is defined by its center and three rotation angles of the global axes.
Define the "Coordinate system" to which the clipping plane refers. You can select a user-defined coordinate system in the list or create a new one using the
![]() button.
button.
If you define the clipping plane with an offset to the global origin, the "Parallel to" option is displayed. In the list, select the global plane to which the clipping plane is parallel.
Origin Point
Enter the center of the clipping plane or define the point graphically using the
![]() button. Starting at this point, the plane will be evenly spanned in the positive and negative directions.
button. Starting at this point, the plane will be evenly spanned in the positive and negative directions.
Points / Rotation
In the other dialog sections, you can define the points or rotation angles, depending on the clipping plane type. Please note that the three points must not lie on a straight line.
Options
Use the "Invert clipping plane" check box to switch the active side of the clipping plane.
Each clipping plane can be moved through the model using drag and drop: Grab the plane at one of its corner points and move (or rotate) the plane freely. To move a clipping plane at fixed intervals, define the "Manipulation step" or the "Rotation angle". Now, by holding down the Ctrl key while moving or rotating, the clipping plane will snap at the specified distance.
In the work window, the clipping plane is enclosed by a frame.
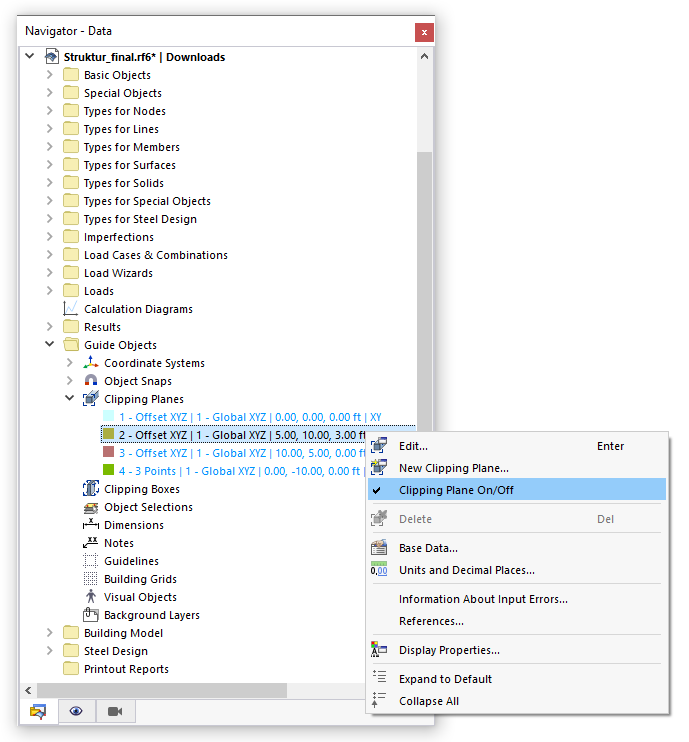
To turn a clipping plane on or off, use the shortcut menu in the navigator or the Clipping Plane Buttons in the toolbar.