


This chapter describes how to set up the printout page, adjust the header, and change the language for the printout.
Page Setup
To set up the page, click Printer Setup in the Report printout report menu. The "Printer & Page Settings" dialog box appears. Switch to the Page Setup tab.
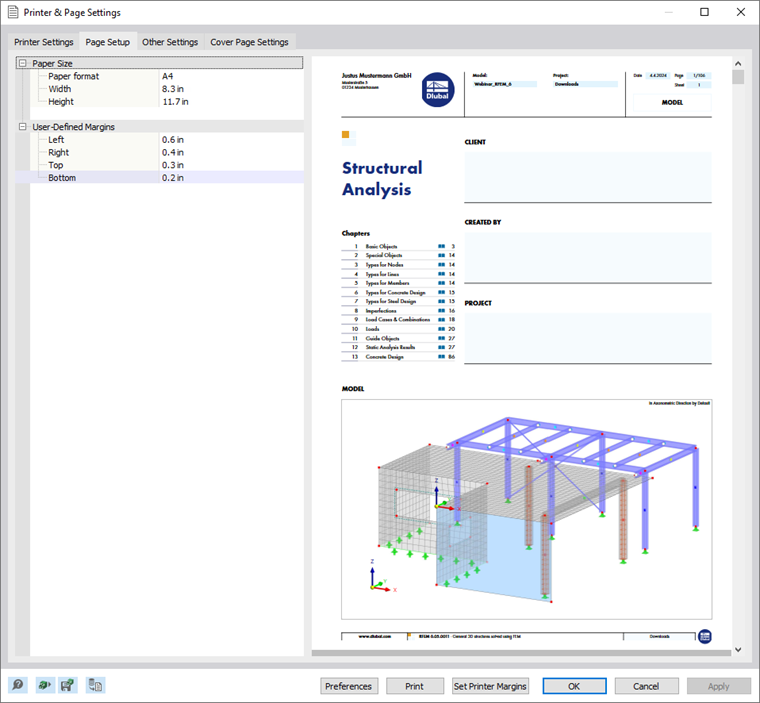
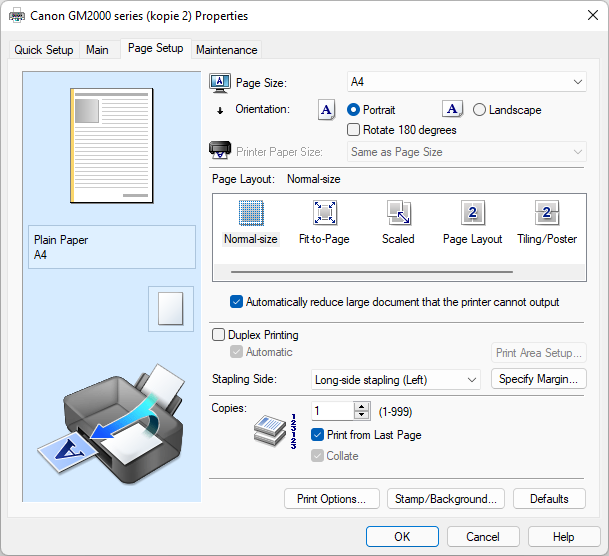
Select the "Paper format" in the list. The paper sizes are adjusted to the printer that is set in the "Printer Settings" tab (see the image Printer & Page Settings).
If necessary, specify some "User-Defined Margins" for the page. Use the
 button at the end of a text box to set the minimum value for the current printer. Alternatively, use the "Set Printer Margins" button at the bottom of the dialog box to set all minimum margins at once.
If you need special printer settings, for example multi-page printing on one sheet, click the "Preferences" button to open the dialog box managing the printer properties. Here, you can specify settings according to the possibilities of the printer.
Adjusting Printout Report Header
During installation, a report header is created from your customer data, which then appears in the header of the printout report. If you want to change this information, click Printer Setup in the Report printout report menu. The "Printer & Page Settings" dialog box appears. Switch to the Other Settings tab.
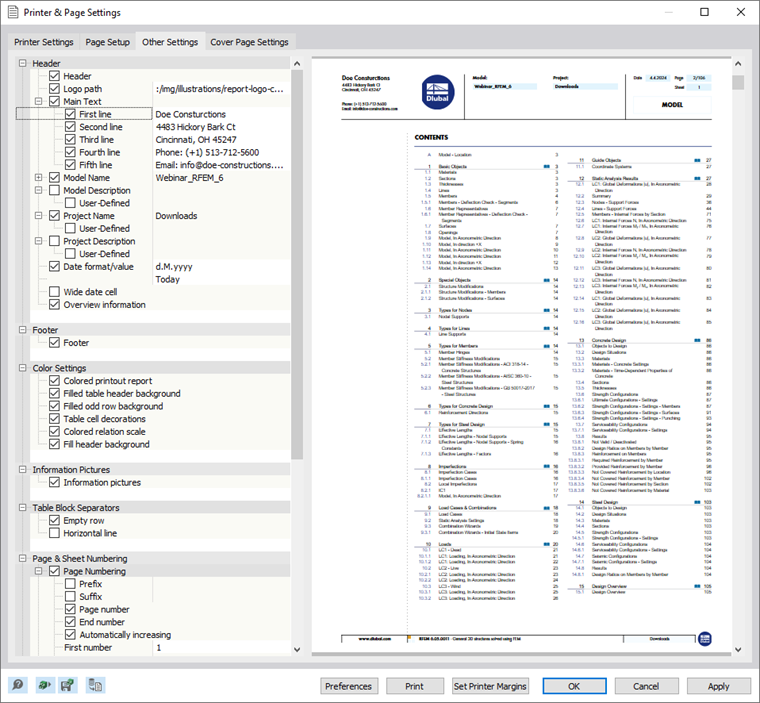
The report header is managed in the "Header" section. You can adjust the "Main Text" line by line. To integrate your company logo, click the text box for "Logo path". The
 , button appears; you can use it to select the directory of the image file. The possible graphic formats include JPG, PNG, GIF, and BMP.
In the "Header" section, you can also control whether the model and project name, including descriptions, are displayed in the document. If necessary, adjust the preset entries.
Saving Report Header as Template
Use the
 button at the bottom of the dialog box to save the modified data. The "New Report Settings Template" dialog box appears.
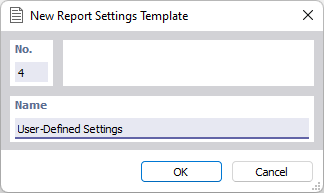
Enter a description in the "Name" text box. By clicking OK, the Page Settings Templates dialog box appears and shows the preset and user-defined templates.
Importing Report Header from Template
To import a report header from a template, go to the [Printer & Page Settings dialog box and at the bottom of it, click the buttonimage
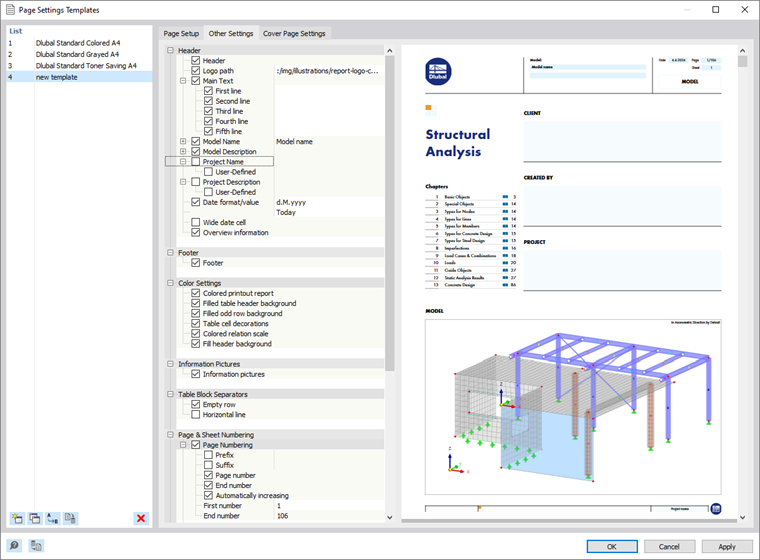
Three templates for print settings are preset. They cannot be modified.
When you have created one or more user-defined report headers, you can select one of the entries in the list and adjust the printer and page settings again. Click OK to transfer the selected template to the "Printer & Page Settings" dialog box.
The buttons below the "List" have the following functions:

|
Create new template |

|
Copy selected template |

|
Rename selected user-defined template |

|
Delete selected user-defined template |
Adjusting Layout and Page Numbering
It is also possible to modify the layout and numbering of the document in the Other Settings tab of the "Printer & Page Settings" dialog box.
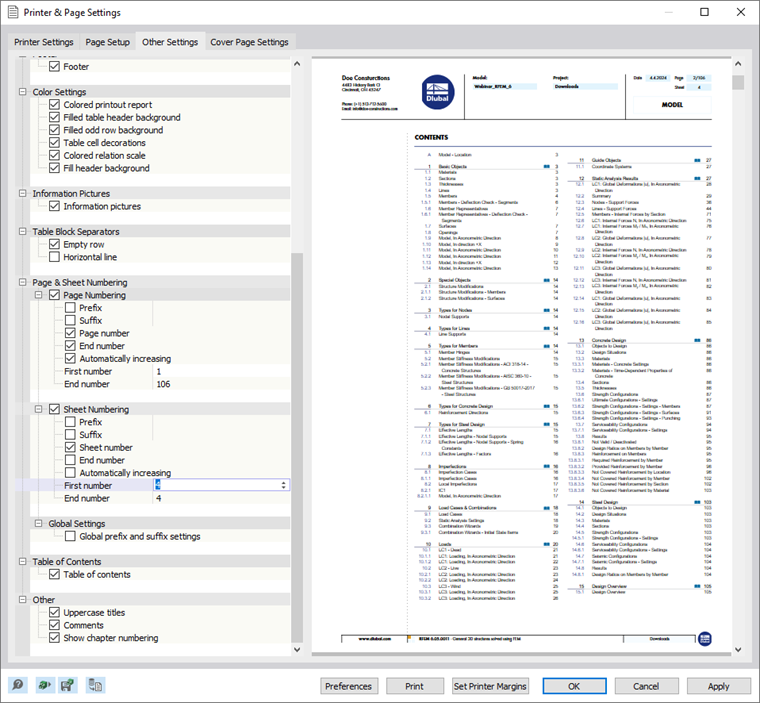
If you do not need the graphic symbols shown in the left margin of the document, clear the check box for "Information pictures".
In the "Page and Sheet Numbering" section, you can define specific settings for the start numbers of the page and sheet and decide whether the end numbers appear as well. The image above shows the settings for a consecutive numbering of pages starting from a certain page number. All the pages are assigned to one sheet number.
If you do not want the "Table of contents" to be integrated in the printout report, clear the corresponding check box.
Setting Cover Sheet
If you want to edit the preset cover sheet of the printout report, click Printer Setup in the Report printout report menu. The "Printer & Page Settings" dialog box appears. Switch to the Cover Page Settings tab.
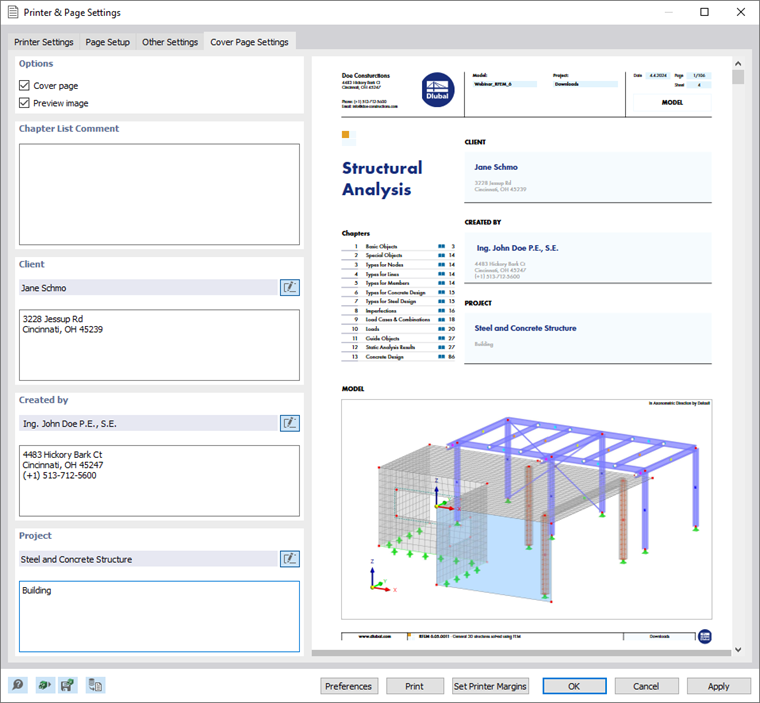
If you do not want the cover page to be integrated in the printout report, clear the check box in the "Options" dialog section. Proceed in the same way to hide the automatically generated preview image to be printed on the cover sheet.
The text boxes "Client", "Created by", and "Project" are accessible if the
 button is activated (indicated by a black frame). Then, you can enter the data for the project.
Setting Language
The language for the printed document is independent of the language of the program's user interface. With the English version, for example, you can create a German or Italian printout report.
To change the language for the printout report, click Set Language in the Edit printout report menu. The "Select Language" dialog box appears.
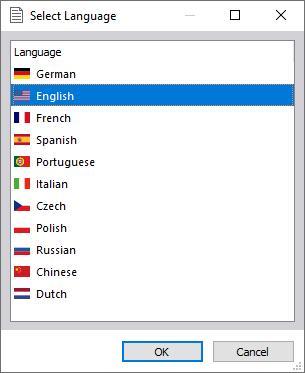
Select the relevant entry in the list. After clicking OK, RFEM creates the print preview in the new language.