


This chapter describes how to integrate external graphics, texts, or formulas into the printout report. The corresponding functions are available in the Insert printout report menu.
Inserting Image
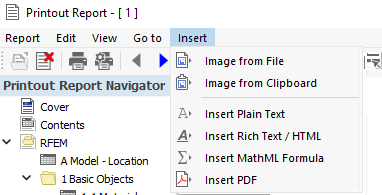
If you want to insert a graphic into the document by way of illustration, there are two options available in the "Insert" menu.
Image from File
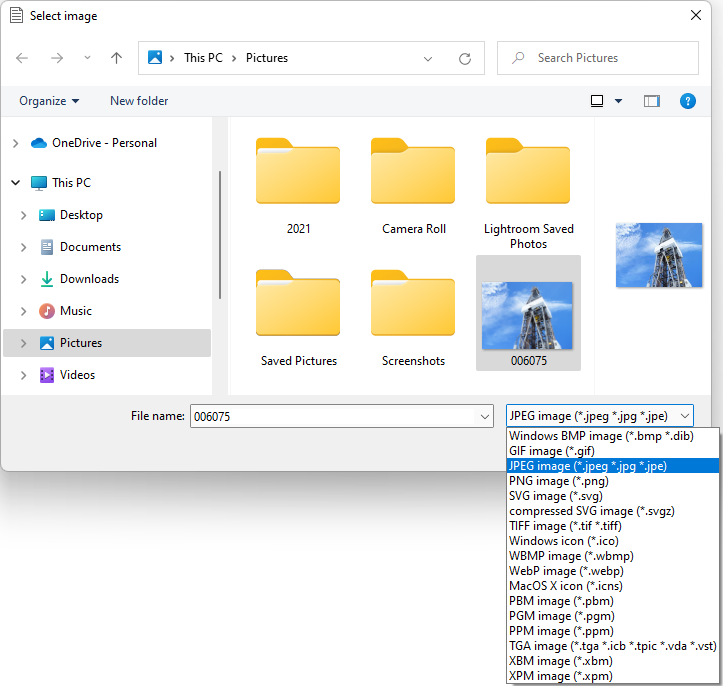
In the "Select image" dialog box, define the directory and the name of the image file. If the file is not displayed, set the appropriate image format in the list.
After clicking OK, the graphic is added to the end of the printout report. You can move it to the appropriate position using drag-and-drop.
The file name is preset as a description. To adjust the title, select the "Properties" option in the graphic's shortcut menu (see the chapter ).
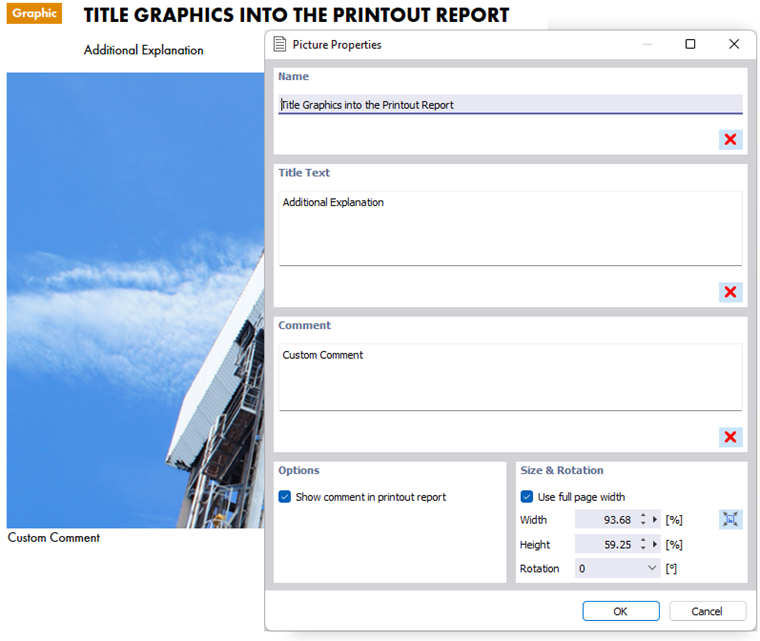
The "Name" represents the title of the graphic; the "Title Text" is an explanation shown below the title. The "Comment" appears as a caption below the graphic.
Image from Clipboard
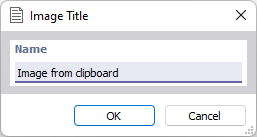
Open the graphic file using an image-processing program (for example, MS Paint) and copy the image to the clipboard with the key combination Ctrl + C. Then, select the Image from Clipboard option on the printout report menu.
The "Image Title" dialog box appears. Enter the name that you want to use as the title of the graphic in the printout report.
Inserting Text
If you want to insert a text into the document for explanation, you have two options in the "Insert" printout report menu.
Insert Plain Text
Use this option for short notes with simple formatting.
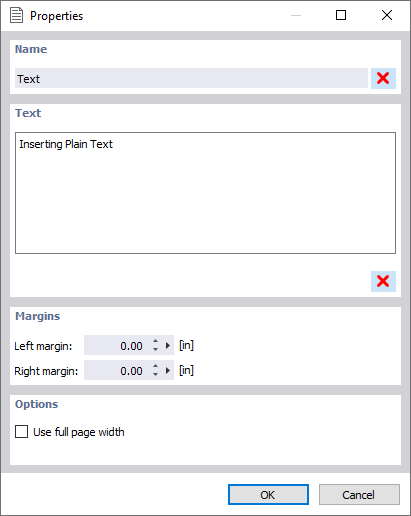
Enter a name for the chapter, then enter the text. After clicking OK, the chapter is added to the end of the printout report. Use drag-and-drop to move it to the appropriate position.
Insert Rich Text / HTML
This function allows you to integrate formatted text files, including embedded graphics, into the printout report. This way, you can save frequently used texts in a file and apply them in the documentation.
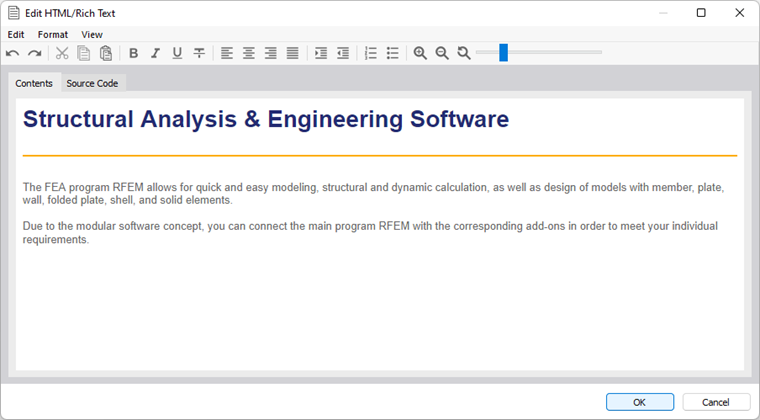
Copy the text into the text box of the "Contents" tab. You can use a Word file or a website as a template. If necessary, adjust the layout using the buttons in the toolbar. Your input is converted into an HTML code that you can check in the "Source Code" tab.
After clicking OK, the Properties dialog box appears. Enter a name for the chapter and check the page settings. After clicking OK, the chapter is added to the end of the printout report.
Insert MathML Formula
It is also possible to insert mathematical formulas in the document, which you create in HTML format.
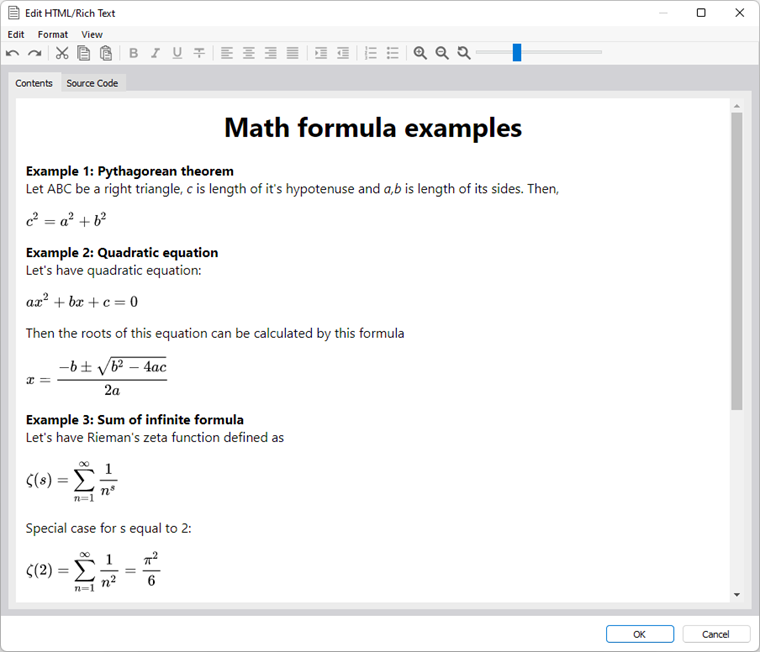
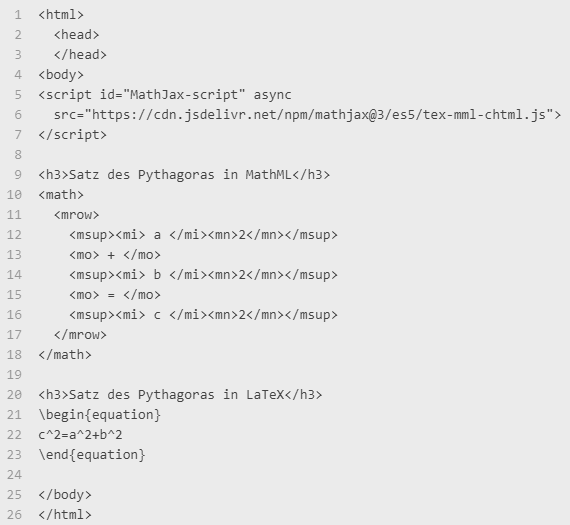
Some formulas are stored in the example file. You can see the commands in the "Source Code" tab, where you can also make adjustments. Enter the formula as an HTML code in MathML or LaTeX format.
After clicking OK, the Properties dialog box appears. Enter a name for the chapter and check the page settings. After clicking OK, the chapter is added to the end of the printout report.
Insert PDF
This function allows you to integrate a PDF document into the printout report. Define the directory and the name of the file in the "Select PDF File" dialog box. After clicking OK, the "Properties" dialog box appears.
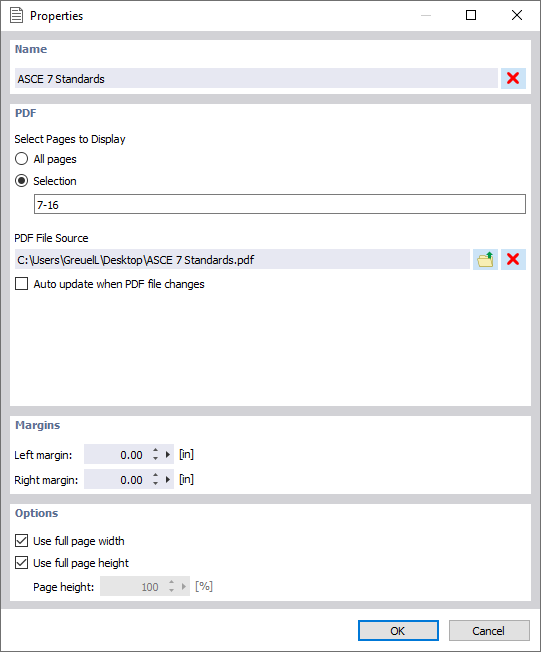
Enter a name for the chapter. In the "PDF" dialog section, click the
![]() button to select the "PDF File Source". If you do not require all pages of the file in the printout report, activate the "Selection" option and specify the relevant pages. In the "Margins" and "Options" dialog sections, you can adjust the page settings.
button to select the "PDF File Source". If you do not require all pages of the file in the printout report, activate the "Selection" option and specify the relevant pages. In the "Margins" and "Options" dialog sections, you can adjust the page settings.
After clicking OK, the chapter is added to the end of the printout report.